Replace a Cracked Outlet Cover Without Killing Power: Beginner Guide
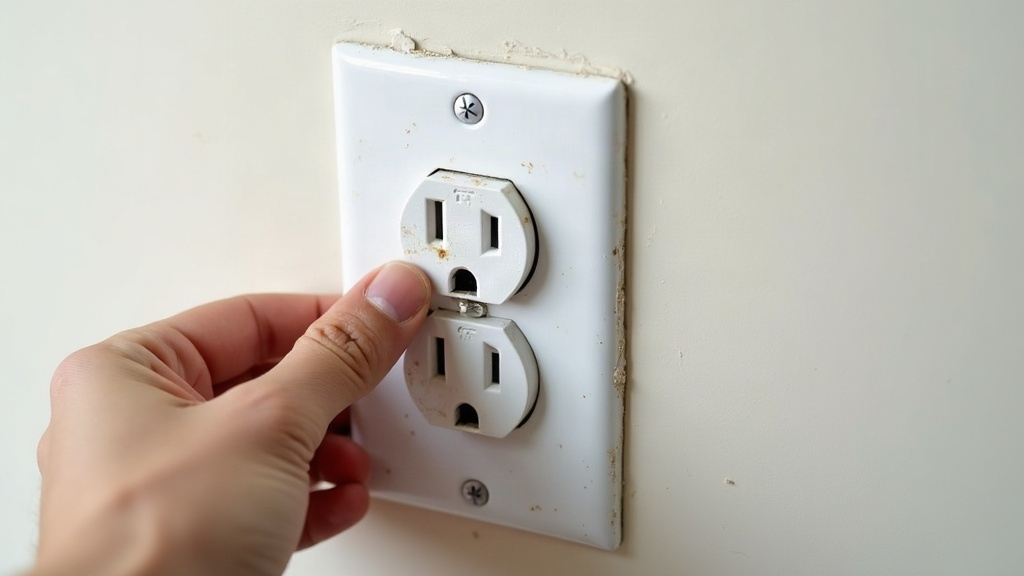
A cracked outlet cover might seem like a nothing problem, just a bit of ugly plastic by the light switch. But that little gap does real work it shouldn’t be doing: it lets dust in, exposes wiring gaps, and gives curious little fingers a path toward live components. Here’s the good part. Swapping a standard cover plate is about as easy as electrical repairs get, and in most cases you won’t need to touch your breaker panel at all. Just a few careful minutes and the right precautions.
Do You Really Need to Kill the Power?
Almost everyone asks this first, and fair enough. The answer depends entirely on what you’re actually replacing.
- Just the cover plate (no wiring touched): No, you don’t need to cut power at the breaker. The plate itself, whether plastic or metal, just sits in front of the outlet. You’re never near a conductor.
- The outlet itself (the receptacle): Yes, absolutely. Now you’re handling exposed wires, and that changes everything.
If all you’re doing is trading a cracked faceplate for a fresh one, the wiring underneath never gets disturbed. Still, “no power needed” isn’t the same as “no precautions needed.” A handful of smart habits is what keeps this a truly zero-risk job.
Tools You’ll Need
- New cover plate (match the style: standard duplex, decora/rocker, GFCI, etc.)
- Phillips or flathead screwdriver (check your existing screw head first)
- Flashlight (genuinely useful in dim hallways or basements)
- Non-contact voltage tester (not required, but it buys peace of mind)
Step-by-Step: Replacing the Cover Plate Safely
1. Match the Cover Style First
Here’s where a lot of people trip up: outlet covers are not one-size-fits-all. Before you buy anything, check what you’re dealing with:
- A standard two-prong/three-prong duplex outlet (rectangular openings)
- A decora/rocker style (one larger rectangular cutout)
- A GFCI outlet (test/reset buttons, a slightly different cutout shape)
Grab the wrong style and the new cover won’t sit flush. You’ll end up with gaps around the edges, which is exactly the problem you were trying to fix in the first place.
2. Remove the Old, Cracked Cover
Unscrew the single center screw. It usually only takes a quarter turn or two before it loosens up. Set that screw somewhere safe, like a magnetic dish or your pocket, because you’ll probably reuse it unless it’s bent or stripped too.
3. Inspect Before You Install
With the cover off, spend ten seconds actually looking at the outlet. Check for:
- Scorch marks or discoloration
- Loose wires you can see
- Any burning smell
Notice any of those? Stop right there. That’s no longer a cosmetic job, it’s a wiring issue, and now is when you flip the breaker and either investigate further or call in an electrician.
4. Avoid Touching Metal Contacts
Even with the cover removed, keep your fingers and screwdriver clear of the brass screw terminals on the sides, and away from any metal prongs if something happens to be plugged in. Honestly, this is the only real risk in the whole job, and staying mindful for thirty seconds is all it takes to avoid it.
5. Install the New Cover
Line the new plate up with the outlet, check that the openings match, and thread the screw in by hand until it’s snug. Resist the urge to crank it down hard. Cracking a brand-new plastic plate with an overzealous screwdriver is one of the most common rookie mistakes out there.
6. Do a Final Check
Give the plate a gentle wiggle. It should sit flush against the wall with no visible gap. If it’s rocking or won’t lie flat, check for paint buildup around the box, or a screw hole that’s slightly bent out of shape.
When You SHOULD Cut the Power
Even on a job this simple, flip the breaker if:
- The crack looks like heat damage (melted plastic) rather than plain impact damage
- You spot loose wiring behind the plate while removing it
- The outlet feels warm when you touch it
- You’re dealing with a GFCI, or any outlet you’ll need to pull slightly forward to work on
When in doubt, just flip it. Finding the right breaker for that room takes maybe thirty seconds, and it erases all the risk. There’s really no downside to being the cautious one here.
Quick Safety Checklist
- ✅ Match cover style to outlet type
- ✅ Visually inspect before replacing
- ✅ Keep fingers off metal terminals
- ✅ Kill power if you see any wiring, heat, or burn signs
- ✅ Don’t overtighten the mounting screw
Conclusion
Swapping out a cracked outlet cover is one of those rare home repairs that’s genuinely fast and low-risk, no breaker flipping required, as long as you’re sticking to the outer plate and leaving the wiring alone. Keep an eye out for warning signs like scorch marks or loose wires; the moment you spot one, this stops being a cosmetic fix and becomes a wiring job. Get the right cover, take your time, and in a few minutes you’ll have turned a small hazard into a clean, solid fix.