Beginner's Guide to Sealing Grout Lines on a New Shower Floor
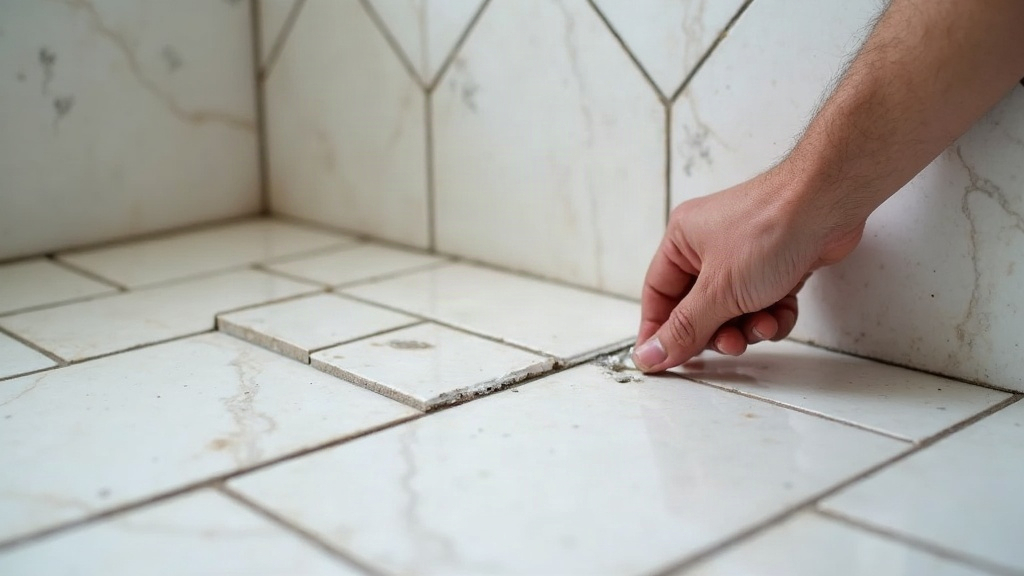
Why Sealing Grout Matters
Grout is basically cement, sand, and water mixed together, so it’s porous by nature. Even the “stain-resistant” grouts sold today still need a sealer on top for real protection against:
- Water working its way down into the subfloor
- Mold and mildew taking hold in that damp, humid environment
- Stains from soap, shampoo, and hard water minerals
- Efflorescence, that chalky white mineral residue you sometimes see on older tile
Skip this on a shower floor, the wettest and most heavily used surface in the whole bathroom, and you’re basically setting a timer on grout failure.
How Long to Wait Before Sealing New Grout
Timing matters more than people expect here. Seal too soon and you trap moisture inside the grout, which can crack it or weaken the bond underneath. Seal too late and staining gets a head start before any protection is in place.
- Standard cement-based grout: give it 48 to 72 hours after grouting.
- Humid climates or bathrooms with weak ventilation: play it safe and wait a full week.
- Epoxy grout: skip the sealer entirely, it’s non-porous from the start.
A quick way to check: drip a few drops of water onto a grout line. If it beads up, the grout isn’t cured yet (or it’s already sealed). If it soaks in within about a minute, you’re good to go.
Choosing the Right Grout Sealer
There are two main categories of sealer you’ll run into for shower floors.
Penetrating (Impregnating) Sealers
These sink into the pores of the grout and seal it from within, while still letting it breathe. For a shower floor, this is really the only sensible option, since it blocks water without leaving a slick film underfoot.
Membrane-Forming Sealers
These stay on the surface, forming a kind of topcoat. They can look nice and glossy at first, but on a floor that takes constant foot traffic and standing water, that coating wears down fast. Not a great match for shower floors.
For a new shower floor, go with a water-based penetrating sealer rated for wet areas. Check the label specifically for shower or tile-floor use, not just countertop sealers, since those are formulated differently.
Step-by-Step: How to Seal Grout Lines
- Clean the grout properly first. Brush away any haze, dust, or leftover residue with water and a soft brush. Then give it a full 24 hours (minimum) to dry out in a ventilated bathroom.
- Test a hidden spot first. Dab sealer on a grout line that’s out of sight, maybe near a corner or behind a fixture, and check it doesn’t discolor or leave a residue.
- Use a small brush or an applicator bottle. Precision applicators, which you can pick up at any hardware store for a few dollars, let you run the sealer right along the grout lines without soaking the tile itself.
- Give it 5 to 10 minutes to soak in, then wipe off any excess from the tile with a clean microfiber cloth before it dries. Sealer that dries on the tile surface leaves a hazy film that’s a pain to get off later.
- Add a second coat once the first has cured (check the label, usually 1 to 4 hours) for better long-term protection.
- Keep the floor dry for 24 to 48 hours after that last coat so the sealer has time to fully cure.
Common Mistakes to Avoid
- Sealing wet or uncured grout. This traps moisture inside and weakens the whole bond.
- Grabbing a sealer that’s not rated for wet floors. Some products are countertop-only and simply won’t hold up against standing water.
- Skipping the wipe-down. Leftover sealer on the tile dries into a dull, sticky haze that’s annoying to remove.
- Forgetting to reseal down the line. Most penetrating sealers need a refresh every 1 to 2 years, depending on how much the shower actually gets used.
How to Know When It’s Time to Reseal
Run the same water-drop test you used the first time around. If the water soaks into the grout within a minute instead of sitting on top as a bead, it’s time to reseal.
Final Thoughts
None of this is complicated, honestly, but it does take a bit of patience and attention to technique. Wait out the proper curing time, pick a penetrating sealer made for wet areas, and apply it carefully with a brush applicator. Do that, and you’ll protect the work you’ve already put in and keep the shower looking fresh for years. A few extra hours now is a small price compared to the cost and hassle of regrouting or dealing with mold later.