Why Your Caulk Keeps Cracking in the Bathroom (& How to Stop It)
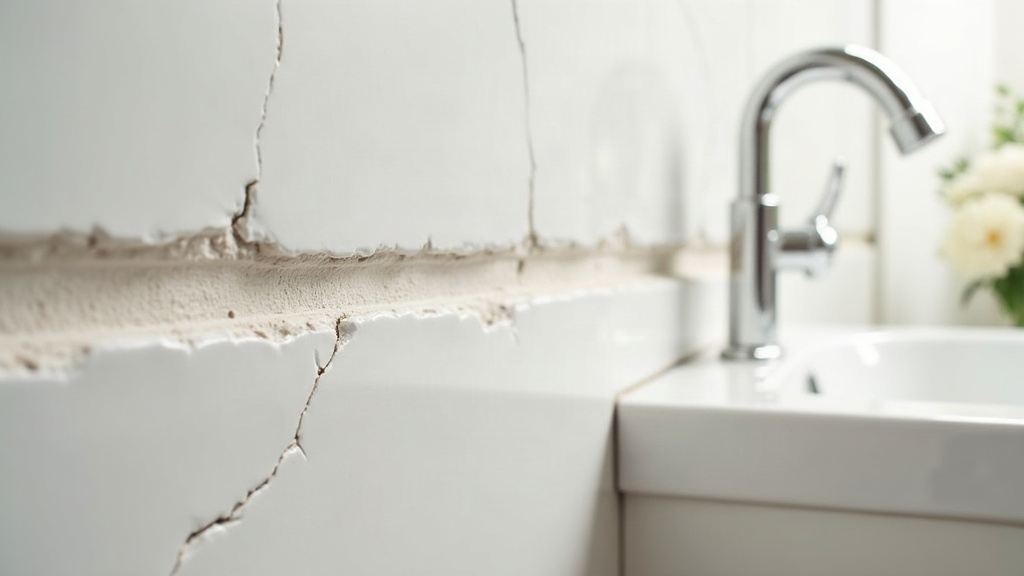
If your bathroom caulk keeps splitting apart within a few months of you applying it, it’s almost never just bad luck. Nine times out of ten it comes down to one of four things: moisture trapped underneath the bead, the wrong caulk for the job, sloppy surface prep, or too much movement in the tub or shower for the caulk to handle. The good news? Once you know what’s actually going on, fixing it for good is a pretty simple weekend job.
Why Bathroom Caulk Fails So Often
Think about it: bathrooms are brutal on any sealant. You’ve got constant humidity, temperature swings from hot showers to cold mornings, and structural movement, all chipping away at a thin bead of caulk day after day. Here are the usual suspects.
1. Moisture Trapped Behind the Caulk
If water sneaks behind the caulk line, through a hairline gap, old cracked caulk, or a leaky grout joint, it has nowhere to go. It just sits there. That trapped moisture eats away at the adhesion, causes bubbling, and eventually the caulk cracks or peels right off the surface.
2. Using the Wrong Type of Caulk
Not all caulk is built the same:
- Acrylic latex caulk goes on easy, but it’s not fully waterproof. It’s a poor choice for tubs and showers.
- Pure silicone caulk is waterproof and flexible, but harder to paint over and a bit trickier to apply neatly.
- Siliconized latex tries to split the difference and usually underperforms in wet areas.
For tub and shower joints, 100% silicone or a dedicated kitchen and bath silicone is really the only right call. Grabbing a general-purpose caulk off the shelf is one of the top reasons people end up redoing this job every six months.
3. Movement at the Joint
That gap where your tub meets the tile? It’s not static. Every time you fill the tub with 40+ gallons of water and step in, the tub flexes slightly under the weight. The caulk has to stretch and compress along with it. Rigid, old, or cheap caulk just can’t keep pace, so it splits right along the seam.
4. Poor Surface Preparation
Caulk needs a clean, dry, dust-free, oil-free surface to actually stick. Slap new caulk over:
- Soap scum
- Old caulk residue
- Mildew or mold
- A surface that’s still damp
…and you’re setting yourself up for weak adhesion and an early failure, no matter how expensive the tube of caulk was.
5. Applying Caulk Too Thin or Too Thick
Too thin, and there’s not enough material to flex without tearing apart. Too thick, and the outside skins over while the inside stays soft and uncured for days, which leads to wrinkling and cracking down the line.
How to Stop Caulk From Cracking for Good
Step 1: Remove All Old Caulk
Grab a caulk removal tool or a sharp utility knife and strip out every last bit of the old bead. Leave even a thin film of residue behind and the new caulk won’t bond properly to it.
Step 2: Clean and Dry Thoroughly
- Scrub the joint with a mildew remover or a diluted bleach solution (about 1 part bleach to 10 parts water works fine).
- Rinse well and give the area at least 24 hours to dry out completely.
- Right before you caulk, wipe the joint down with isopropyl alcohol to catch any last bit of residue.
Step 3: Fill the Tub With Water First
Here’s a trick a lot of DIYers skip: before caulking a tub, fill it with water and let it sit while you work. The extra weight (a standard tub holds 40-50 gallons) pulls the tub down just slightly, mimicking how it sits during actual use. Caulk it in that position and you avoid stretching (and cracking) the seal the very first time someone takes a bath.
Step 4: Choose the Right Product
Go with a 100% silicone sealant labeled specifically for kitchen and bath use. Look for one that advertises built-in mold and mildew resistance, that feature actually matters here.
Step 5: Apply a Clean, Consistent Bead
- Run painter’s tape along both sides of the joint for crisp, straight lines.
- Cut the nozzle at a 45-degree angle so you get a smooth, medium-width bead, not too skinny.
- Smooth it out with a caulking tool or a wet finger, then peel the tape off right away, before the caulk starts to skin.
Step 6: Let It Cure Undisturbed
Stay out of the shower or tub for at least 24 hours. Some products want up to 48, so check the label, don’t just guess. Let it fully cure before it ever meets water.
When to Call a Professional
If the caulk keeps cracking even after you’ve done everything right, that’s usually a sign of something bigger underneath: a loose tub, a rotting subfloor, or a hidden plumbing leak behind the wall. At that point, don’t just keep recaulking and hoping. Get a contractor to take a look before you touch it again.
Final Thoughts
Cracking bathroom caulk is almost always fixable with the right prep and the right materials. Strip out the old stuff completely, let everything dry thoroughly, use 100% silicone made for wet areas, and apply it the right way. Do that, and your seal should hold up for two to five years, not just a few disappointing months.