Advanced Guide to Re-Hanging Kitchen Cabinet Doors After Repair
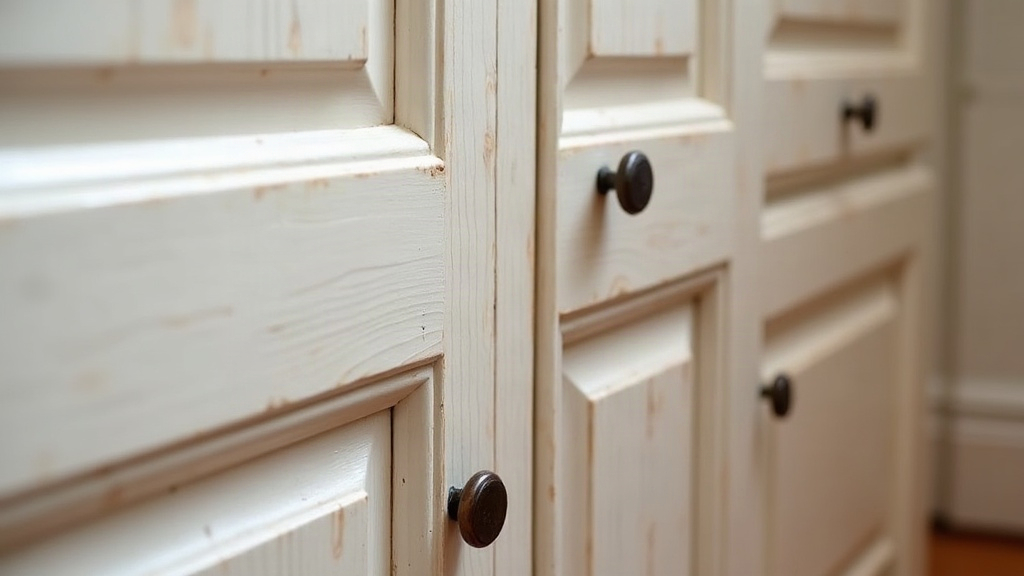
Re-hanging kitchen cabinet doors after a frame repair isn’t a job you rush. Once the cabinet box or face frame has been patched, reinforced, or had a section replaced, the doors almost never go back on straight unless you actually measure, align, and shim them properly. Below is the full process, from checking the repaired frame for square to the final micro-adjustments, so your cabinets close smoothly, sit flush, and look like nothing ever happened.
Why Frame Repairs Throw Off Door Alignment
A frame repair, whether it’s a cracked stile, a reinforced corner joint, or a swapped-out section of the face frame, almost always shifts the frame’s dimensions by a millimeter or two. Doesn’t sound like much, but it’s enough to cause:
- Doors that rub or catch at the top or bottom corner
- Uneven reveals (gaps) between adjacent doors
- Hinges that no longer seat cleanly in their original mortises
- Doors that drift open on their own or refuse to stay shut
Wood keeps moving even after the glue cures, expanding, contracting, settling a hair here and there. So don’t assume the repaired frame matches the original dimensions exactly. Check it before you put any hardware back on.
Step 1: Inspect and Square the Repaired Frame
Before you even pick up a door, make sure the repair itself is sound and the frame is square.
- Check for square: Measure diagonally, corner to corner, in both directions. If the two measurements are within 1/16 inch of each other, you’re good.
- Sand flush: Any filler, epoxy, or wood patch needs to be sanded dead flush with the surrounding surface, otherwise hinges won’t sit flat and you’ll chase alignment problems forever.
- Let adhesives cure fully: Wood glue wants at least 24 hours. Epoxy fillers can need 24 to 48 hours depending on the brand. Hang doors too soon and the hinge tension can actually shift the repair you just made.
Step 2: Re-Mark Hinge Locations
If the original hinge mortises got damaged or filled in during the repair, you’ll need to re-mark everything from scratch.
- Hold the door roughly in its final position, using playing-card shims (about 1/16”) underneath to set a consistent bottom gap.
- Mark the hinge cup centerlines on the door edge, usually 2.5 to 3 inches in from the top and bottom.
- Transfer those marks onto the repaired frame with a combination square. Eyeballing it here is how you end up with a door that’s a few degrees off.
Working with frameless (European-style) cabinets and need new 35mm cup holes? Use a hinge-boring jig. It keeps hole depth and spacing consistent door after door, which matters a lot once you’ve got six or eight doors in a row.
Step 3: Install Hinges with Adjustment Room
Modern concealed hinges, Blum and Salice being the usual suspects, give you three axes of adjustment: depth, height, and side-to-side. When re-hanging after a repair, work this way:
- Mount the hinge plates on the frame first, screws snug but not fully tight.
- Snap the door’s hinge cups onto those plates.
- Close the door and eyeball it against the neighboring doors before you torque anything down.
Think of it as a “loose-then-tighten” approach. It buys you room to nudge things into place before you commit.
Step 4: Fine-Tune the Fit
With the doors hung, walk the whole run of cabinets and look for:
- Vertical gaps between doors (should be even, usually around 1/8 inch)
- Top and bottom reveal that matches the rest of the run
- Door swing - a door shouldn’t creep open on its own or slam shut
Adjust using the hinge screws:
- Depth screw: pulls the door in or pushes it out from the frame
- Height screw: raises or lowers it
- Side screw: nudges it left or right
Make quarter-turn adjustments, close the door, check, repeat. Cranking a screw a full turn and hoping for the best is exactly how doors end up worse than before.
Step 5: Address Lingering Frame Repair Issues
Door still not sitting flush after all that? The repair itself might need another pass.
- A patch sitting slightly proud can be sanded down a bit more.
- A hinge mortise that’s too shallow can be deepened carefully with a sharp chisel.
- A slight twist in the frame can often be compensated with a thin shim tucked behind the hinge plate.
Final Finishing Touches
- Wipe sawdust off the hinges and hardware before the final tightening pass.
- Check that handles and pulls still line up visually across the repaired section, a half-inch mismatch is surprisingly noticeable.
- Back up a few feet and look at the whole run of cabinets. Small unevenness that’s invisible up close often jumps out from a distance.
Conclusion
Re-hanging cabinet doors after a frame repair really comes down to patience over muscle: square the frame, re-mark the hinge spots carefully, and dial in the hinges in small steps until every door sits flush and swings true. Take it one step at a time and the repaired cabinets will look, and work, like they were never touched.