Winterizing an Outdoor Spigot With No Shutoff Valve: Full Guide
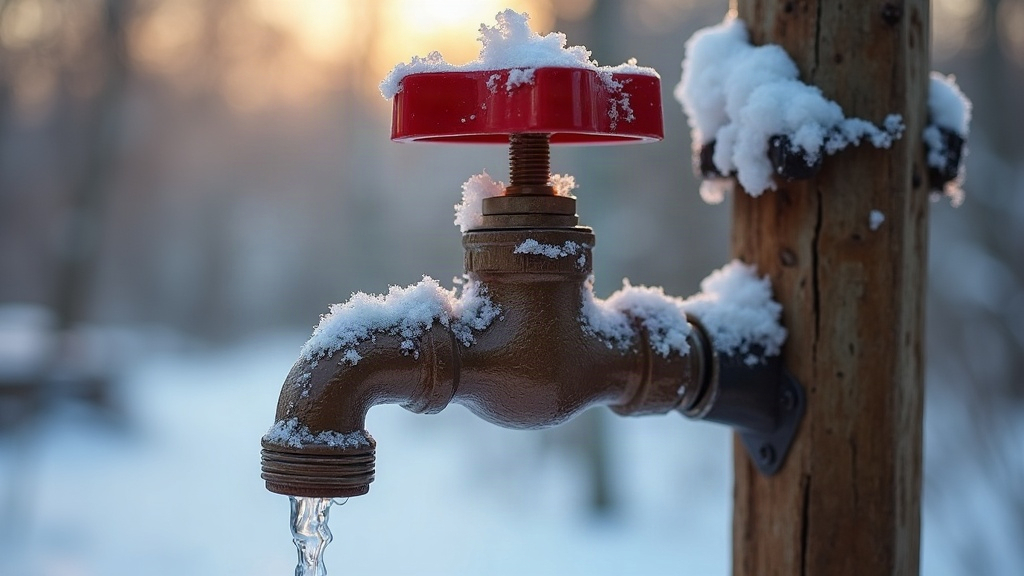
If your outdoor spigot doesn’t have an interior shutoff valve, you can still winterize it properly. Use an insulated faucet cover, wrap any exposed pipe in foam insulation, disconnect your hoses completely, and if you have any doubt at all about how protected that pipe really is, get a shutoff valve installed before the first hard freeze hits. Homes built before the 1990s skipped this feature constantly, and honestly, it’s the number one reason people end up with burst pipes and a soggy, expensive mess every winter.
Why This Matters More in Older Homes
Plenty of older houses have just one outdoor spigot (a hose bib) plumbed straight off the interior water line, with nothing to isolate it if things go wrong. Newer builds usually require a dedicated shutoff for exterior faucets, often paired with a “frost-free” design where the actual valve seat sits several inches inside the heated wall, well away from the cold. Without that setup, whatever water is sitting in the pipe near the exterior wall is fair game for freezing. It expands, it cracks the pipe, and sometimes you won’t even know it happened until the ice melts next spring and floods your basement or crawlspace.
Step 1: Check What You’re Working With
Before you do anything, figure out what kind of spigot you actually have:
- Frost-free (frost-proof) spigot: The valve stem runs long, so the real shutoff point is buried deep inside the wall, far from freezing air. These generally drain themselves, as long as no hose is left attached.
- Standard spigot: The valve sits right at the exterior wall. That means the whole pipe run leading up to it is exposed to freezing.
Not sure which one you have? Check under the sink or down in the basement or crawlspace, right where the spigot’s pipe enters the house. No valve or lever in sight? You almost certainly have no interior shutoff.
Step 2: Disconnect and Drain Hoses Completely
This is the step everyone skips, and it’s the one that causes the most damage.
- Pull off every hose, splitter, and timer attachment from the spigot. All of them.
- Drain the hoses fully and coil them up somewhere dry, like a garage or shed.
- A hose left attached (even to a frost-free spigot) traps water inside the line and cancels out whatever freeze protection you thought you had.
Step 3: Insulate the Spigot Itself
- Get a foam faucet cover, the dome-shaped insulated kind you’ll find at any hardware store for about $5 to $10. They slip over the spigot and cinch shut with a drawstring.
- In windy or exposed spots, add a layer of duct-taped foam pipe insulation over the cover for backup protection.
- Swap the cover out every season. UV exposure cracks them within a couple of years, and a cracked cover is basically useless.
Step 4: Insulate the Exposed Pipe Run
Got access to the pipe from inside, say a basement, crawlspace, or garage? Wrap it in foam pipe sleeves sized to match your pipe diameter, and secure the seams with zip ties or tape. Give extra attention to:
- Any pipe running along an uninsulated exterior wall
- Sections within a few feet of an unheated crawlspace vent
- Elbow joints, since these are almost always the first place a pipe fails
Step 5: Seal Air Leaks Around the Penetration
Here’s the thing most people miss: it’s often not the outdoor temperature that freezes a spigot, it’s cold air sneaking in through the gap where the pipe passes through the wall. Seal that penetration point with expanding foam sealant or caulk, both inside and outside. On its own, this one fix resolves a surprising number of chronic freeze problems.
Step 6: Consider Adding a Shutoff Valve Permanently
If there’s truly no way to isolate this line, your best long-term move is a quarter-turn ball valve with a small drain cap (plumbers sometimes call it a “boiler drain”) installed on the interior side of the exterior wall. It’s a fairly simple job for a plumber, usually under $200, and once it’s in, you can:
- Shut off water to that line entirely.
- Open the exterior spigot and drain whatever water is left.
- Leave it isolated all winter long, no matter how good or bad your insulation is.
What If You Can’t Add a Valve This Year?
- Focus on the foam cover, hose disconnection, and air sealing. Together, those three cover roughly 80% of your freeze risk.
- On nights that drop below 20°F (-6°C), let a standard (non-frost-free) spigot connected to an active line drip just slightly. Moving water is much harder to freeze than still water.
- After any long cold snap, keep an eye on the area. A cracked pipe often stays dry-looking until the ice inside finally thaws.
Conclusion
No shutoff valve doesn’t mean your spigot is destined to freeze. It just means you need to be more deliberate: insulate it, pull the hoses, seal the gaps. Make this checklist a fall ritual, every year, without fail. And that modest cost of adding a real shutoff valve? Think of it as cheap insurance against a spring plumbing bill that’s going to hurt a lot more than $200.