Spring Deck Inspection Checklist for Spotting Rot Before It Spreads
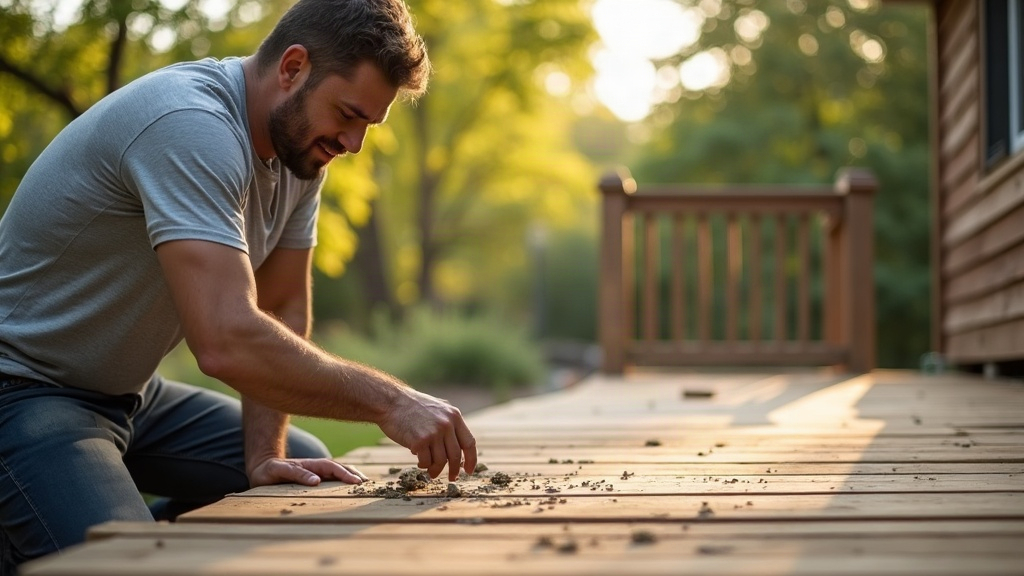
Winter does a number on outdoor wood. Melting snow, trapped moisture, repeated freeze-thaw cycles… by the time spring rolls around, your deck has been through a lot. That’s exactly why spring is the right moment to get down on your hands and knees and really look at the thing. A proper spring deck inspection checklist helps you catch rot, soft spots, and structural weak points before they turn into a repair bill that makes your eyes water (or worse, a safety problem). Below is exactly what to check, how to test for hidden decay, and when it’s time to stop DIYing and call someone licensed.
Why Spring Is the Critical Inspection Window
Think about what your deck just went through: months of snow sitting on it, rain soaking into every joint, and temperatures swinging back and forth across freezing. All that moisture gets trapped around fasteners, under boards, in the gaps where two pieces of wood meet. Rot loves exactly those conditions, damp and dark. So by the time spring arrives, any water that snuck in over the winter has had months to soften the wood fibers from the inside out. Catch it now, before summer brings heavy foot traffic, grills, and furniture loads, and you stop a small issue from turning into a structural one.
Step-by-Step Deck Inspection Checklist
1. Visual Surface Check
Start simple: walk the whole deck and actually look at it. You’re hunting for:
- Discoloration, dark staining, or gray patches on the boards
- Cracking, splintering, or cupping (boards curling up at the edges)
- Mold, moss, or algae, particularly in shady corners where air doesn’t move much
- Nail heads popping up or screws working their way loose, a classic sign the wood has been swelling and shrinking through repeated moisture cycles
2. The Screwdriver Probe Test
If you only do one thing from this list, do this one. It’s the most reliable DIY rot test there is. Grab a flathead screwdriver or an awl and press it firmly into the wood at:
- Board ends and edges (water loves to get in here first)
- Areas around fasteners and flashing
- Spots where boards meet or overlap
Solid, healthy wood pushes back against the probe. If instead the screwdriver slides in with almost no resistance, leaves a mushy dent, or the wood just crumbles away, you’ve found rot. Mark each spot with tape or chalk as you go, so later you can see the full extent of the damage rather than guessing.
3. Check the Ledger Board
The ledger board is where your deck bolts onto the house, and it’s also the single most common point of failure in deck collapses. Not an exaggeration. Check for:
- Gaps between the ledger and the siding (an open invitation for water)
- Rust streaks or corrosion around the bolts
- Soft, spongy wood when you probe it
- Flashing that’s missing or was installed wrong in the first place
4. Inspect Posts, Beams, and Joists from Below
If you can get underneath the deck, do it. Bring a flashlight. Look at:
- Where the posts meet the concrete footings, this is a textbook rot zone because moisture wicks up from the concrete
- Joist hangers, checking for rust or bent metal
- Where beams meet posts, looking for cracks or splits
- Standing water or anywhere drainage seems to be failing
5. Test Railings and Stairs
These take a beating every single day and people tend to forget about them until something gives:
- Grab every railing post and push, pull, wiggle it. It should not move.
- Probe the base of balusters and where handrails join
- Check stair stringers for cracking, especially down near ground level
6. Examine Fasteners and Hardware
- Rust streaks bleeding out from screws or nails usually mean galvanic corrosion is underway
- Swap out anything loose, missing, or visibly corroded
- Check that joist hangers and connectors are up to current code; a lot of older decks were built with hardware that’s undersized by today’s standards
Signs Rot Has Already Spread
- A hollow, spongy sound when you rap your knuckles on the wood
- Fungal growth under the surface, white, brown, or black threads
- Wood that looks unusually pale or breaks apart into fibrous chunks instead of splintering normally
- A musty, earthy smell hanging around the deck
If the rot is more than a small, contained patch, or if it’s touching structural pieces like beams, posts, or the ledger board, this isn’t a weekend patch job anymore. Call a licensed contractor.
Preventing Future Rot
- Improve drainage: water needs to run away from posts and footings, not pool around them.
- Clean it every year: leaves and debris trapped between boards hold moisture against the wood.
- Reseal regularly: stain or seal every 1 to 3 years depending on how much sun and weather the deck takes.
- Let it breathe: trim back bushes and plants crowding the deck so air can actually move underneath.
- Repair with the right materials: pressure-treated lumber, cedar, or composite decking hold up far better than whatever scrap is lying around the garage.
Quick Reference Checklist
- Visual scan of all boards for staining, cupping, cracks
- Screwdriver probe test on board ends and joints
- Ledger board and flashing inspection
- Under-deck check of posts, beams, and joists
- Railing and stair stability test
- Fastener and hardware condition review
Final Thoughts
This whole inspection takes under an hour, honestly. Less time than mowing the lawn. But skip it, and you’re gambling with either an expensive structural repair down the line or, in the worst case, a collapse. Make the screwdriver probe and the ledger board check things you do without fail, every spring, no exceptions. And if you find soft or rotted wood, deal with it right away rather than telling yourself you’ll get to it later, because rot doesn’t wait. A little bit of diligence each spring is really all it takes to keep your deck solid and ready for whatever the season throws at it.