Advanced Techniques for Leveling a Sagging Interior Door Frame
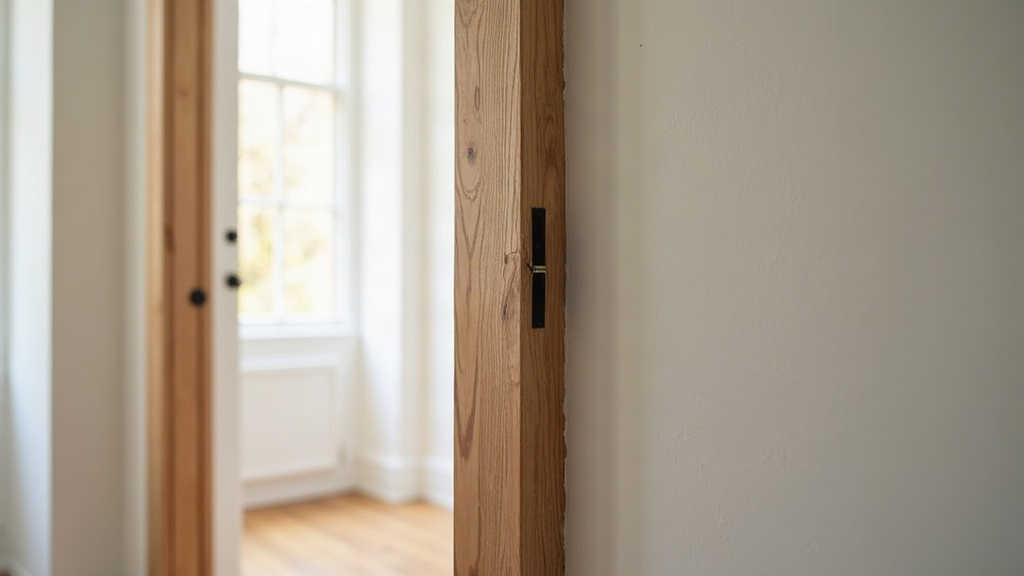
Why Your Interior Door Frame Sags (and How to Actually Fix It)
A sagging interior door frame is one of those problems that looks minor until it isn’t. The door scrapes the floor. It won’t latch. There’s a gap at the top that keeps getting wider every time you check it. Here’s the good news: you almost never need to tear out the whole unit and start over. This guide covers the techniques pros actually use to re-level a frame, tighten things back up, and keep the sag from showing up again in six months.
Why Interior Door Frames Sag
Before you grab a screwdriver, figure out what’s actually causing the problem. It’s rarely the door itself. Nine times out of ten, the real issue is the frame, or the wall structure holding it.
- Loose or stripped hinge screws. This is the most common culprit by far. The screws that came with your hinges are often short enough that they only bite into the jamb, never reaching the framing stud behind it. Over time, that thin grip just gives out.
- Settling foundation or framing. Houses move. Give it ten or fifteen years and the rough opening around a door can rack slightly out of square, even in a well-built home.
- Humidity and wood movement. Wood breathes with the seasons, swelling in summer, shrinking in winter. That constant flexing loosens joints over time.
- Poor original installation. Missing shims, a header that was never leveled, a jamb that went in slightly out of plumb on day one. Sometimes the sag you’re dealing with today started the day the door was hung.
Figuring out which of these is at play matters, because the fix that works for loose hinges won’t do a thing for a racked frame.
Step 1: Diagnose Before You Adjust
Grab a 4-foot level and a tape measure. This takes five minutes and saves you from fixing the wrong problem.
- Check the hinge-side jamb for plumb, top to bottom.
- Measure the gap between door and frame at the top, middle, and bottom on the latch side.
- Open the door halfway and let go. If it swings on its own, either toward open or closed, you’re looking at a frame that’s out of plumb, not just a loose hinge.
If that gap varies by more than 1/8 inch from top to bottom, you’ve got a structural lean on your hands, not just tired hardware.
Advanced Fix #1: The Long-Screw Hinge Trick
This is the fastest fix there is for sag caused by loose hinges, and it costs about two dollars in hardware.
- Remove one screw per hinge, starting with the middle hole.
- Replace it with a 3-inch exterior wood screw. That extra length matters: it passes through the jamb and bites into the actual framing stud behind it, not just the thin jamb material.
- Drive it in slowly. You’ll actually feel the door pull back toward square as the screw grabs the stud.
- If the sag doesn’t fully disappear, repeat the process with the top hinge screw too.
This one trick clears up most “door won’t latch anymore” complaints, and you never have to touch the frame itself.
Advanced Fix #2: Re-Shimming the Jamb
If the frame was never shimmed evenly in the first place, pull the casing off the hinge side and take a look behind it.
- Loosen the jamb nails near the problem area using a pry bar.
- Slide cedar or composite shims in behind the jamb at each hinge location. Tap pairs in from opposite sides so you can fine-tune the fit without overdoing it.
- Re-check for plumb with your level after every single adjustment. Small moves here add up fast.
- Once it’s dialed in, nail or screw through the jamb and shims into the stud, then score and snap off the shims flush.
This actually restores the frame’s true vertical line instead of just hiding the problem for another season.
Advanced Fix #3: Correcting a Twisted or Racked Frame
When the whole opening has racked, which happens often after a house settles, no amount of hinge tweaking will solve it. You need to go bigger.
- Pull the casing off both sides of the frame.
- Loosen the fasteners along the full height of both jambs.
- Bring in a door frame clamp or a temporary diagonal brace and pull the opening back to true square.
- Re-shim at the top, middle, and bottom, not just at the hinges, before you refasten anything.
- Once the frame holds square on its own under its fasteners, put the casing back on.
Advanced Fix #4: Reinforcing the Header
If the sag keeps coming back every year like clockwork, look up. The header above the frame might be under-supported.
- Confirm there are proper cripple studs and a doubled header, per your local framing code.
- If the opening was framed light to begin with, add a king stud or extra blocking.
- This stops the top of the frame from flexing under load, which is usually what reintroduces the sag right after you’ve fixed it.
When to Call a Professional
A few situations are worth handing off to a contractor:
- The sag shows up alongside cracking drywall or windows that are suddenly sticking nearby. That combination can point to a foundation issue, and that’s a different conversation entirely.
- The frame has racked more than 1/2 inch out of square.
- You’ve already re-shimmed it twice and it keeps coming back within a few months.
Final Checks After Repair
- Swing the door through its entire arc. It should hold still at any angle, not drift open or closed.
- Check that the strike plate still lines up with the latch. If it doesn’t, the same long-screw trick works here too.
- Finish with caulk and a bit of paint around the reset casing so it looks like nothing ever happened.
Conclusion
Most sagging interior door frames can be fixed in an afternoon, as long as you diagnose before you grab tools: long screws for loose hinges, re-shimming for an uneven jamb, and frame-squaring for real structural racking. Fix what’s actually wrong, not just what you can see, and that door will swing true for years.