How to Replace Weatherstripping Around Exterior Doors
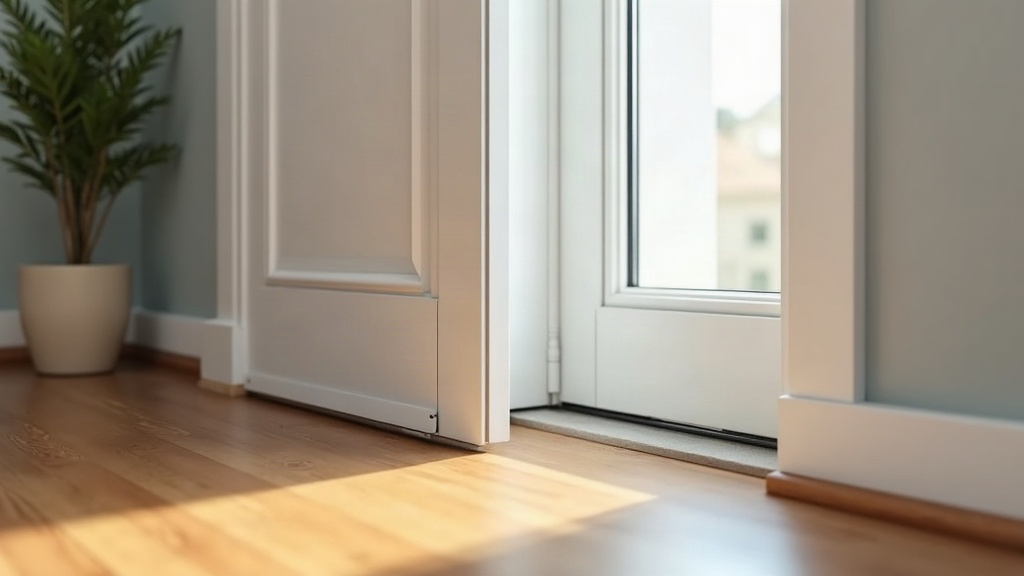
Feeling a cold draft around your front door in January, or noticing cool indoor air slipping outside during July? The weatherstripping may be worn out. Replacing weatherstripping around an exterior door is a straightforward DIY job that can make a noticeable difference to comfort and utility costs. A tight seal helps keep conditioned air indoors while blocking rain, dust, and insects from finding their way inside, much like fixing a sticking sliding door improves your home’s functionality.
Signs It’s Time for Replacement
Before pulling off the old strip, make sure it is actually the source of the problem. Check for these common warning signs:
- Visible light: On a sunny day, close the door and inspect its edges from indoors. Any sliver of daylight means there is an opening in the seal.
- Drafts: Slowly move your hand around the frame on a windy day. A stream of cool air near the latch side or upper corners is a clear clue.
- Physical damage: Rubber or foam that is cracked, peeling, brittle, flattened, or permanently compressed can no longer seal properly.
- High energy bills: A sudden increase in heating or cooling costs can point to air leaks, especially around frequently used exterior doors.
Tools and Materials You Will Need
Set out everything before starting. Most door weatherstripping projects require:
- New weatherstripping, such as adhesive-backed tubular silicone, rubber, or foam tape
- Tape measure
- Scissors or a heavy-duty utility knife
- Putty knife or flathead screwdriver
- Adhesive remover, such as Goo Gone, or rubbing alcohol
- Clean rags
- Small nails and a hammer, if you are installing nail-on V-strip weatherstripping
Step-by-Step Guide to Replacing Door Weatherstripping
Step 1: Remove the Old Weatherstripping
Remove the old seal completely. For adhesive-backed foam or rubber, lift one end and pull it slowly away from the frame. If pieces are stubborn, slide a putty knife underneath and scrape gently so you do not gouge painted wood or damage the trim.
For weatherstripping secured with nails or staples, pry out each fastener with a flathead screwdriver or the claw of a hammer. Take your time here. Leaving even a small nail behind can prevent the replacement strip from sitting flat.
Step 2: Clean and Prepare the Surface
Surface preparation often determines whether the new strip lasts one season or several years. Adhesive will not bond well to old glue, dust, grease, or loose foam.
- Scrape away remaining bits of rubber, foam, and adhesive.
- Apply adhesive remover to sticky residue. Let it sit for about a minute, then wipe the area clean.
- Wipe the entire door stop, the section of the frame the door rests against when closed, with rubbing alcohol and a clean rag.
- Let the wood or metal dry fully before applying the new weatherstripping.
Step 3: Measure and Cut
Accurate measurements help prevent those annoying corner gaps where cold air tends to sneak through. Measure the top header and both vertical side jambs.
- Measure twice, cut once: Unroll the new weatherstripping and mark each length carefully.
- Use sharp scissors or a utility knife for clean, square cuts. Cutting the vertical pieces about 1/8 inch long is often helpful, since you can trim them during the final fit.
Step 4: Install the New Weatherstripping
Installation varies slightly by product, though adhesive-backed tubular rubber is a popular choice for exterior doors because it compresses well and is easy to install.
- Start at the top: Peel back only 2 or 3 inches of the backing from the top piece. Press it firmly into one corner of the door stop.
- Work across the header: Remove the backing gradually while pressing the strip straight against the frame. Avoid stretching it, since stretched rubber can shrink later.
- Install the sides: Apply the left and right pieces the same way. Push their top ends tightly against the header piece so the upper corners remain sealed.
- Nail-on alternative: For V-strip tension seals or metal-flange weatherstripping, position the material carefully and tap nails in every few inches, following the spacing listed on the package.
Step 5: Test the Door
Close the door once the installation is complete. It should feel snug, but you should not need to force it shut or struggle to engage the deadbolt. The weatherstripping should compress slightly all the way around the door.
Run your hand along the edges again, or repeat the light test. If you spot daylight near a corner, trim or reposition the strip before calling the job finished.
Conclusion
Replacing exterior door weatherstripping usually takes less than an hour, yet the payoff lasts through both heating and cooling seasons. A properly sealed door keeps rooms more comfortable, reduces wasted energy, and helps prevent moisture, dust, and bugs from entering. Add a quick door-seal inspection to your fall home maintenance checklist, especially before the first cold snap arrives.