Advanced Guide to Hanging a Barn Door on an Uneven Header Wall
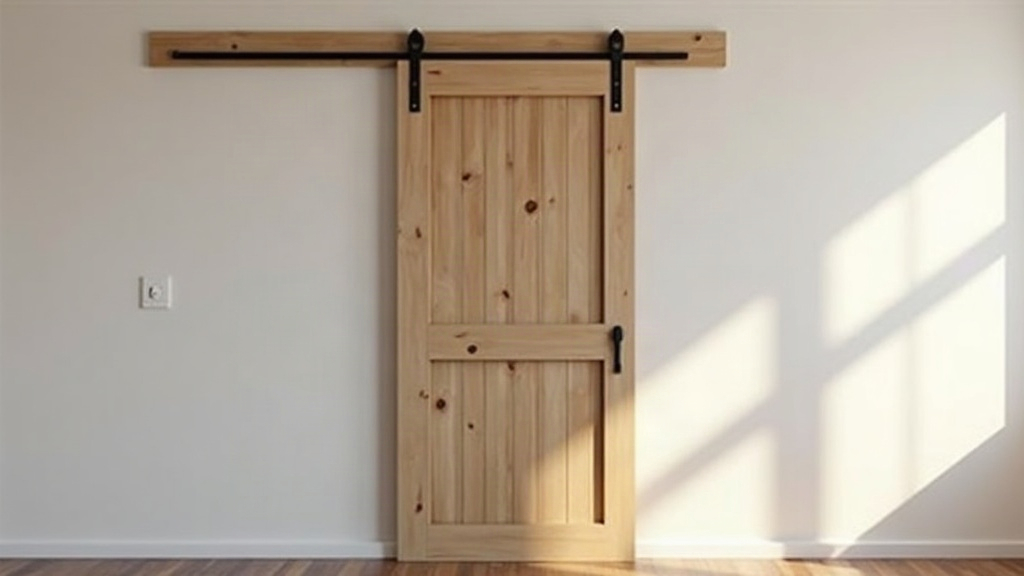
Hanging a Barn Door on an Uneven Header Wall
Hanging a barn door looks easy right up until you slap a level against the header and realize it’s off. This happens constantly in older homes where framing has shifted over decades, but it shows up in new builds too, sometimes just from minor construction drift that nobody caught during framing inspection. Don’t worry though. With a laser level, the right shimming approach, and a properly built mounting board, you can get a barn door rolling smooth and straight, with a tight, even gap along the floor and jamb, no matter what the wall behind it is doing.
Why Header Walls Are Rarely Perfectly Level
Walls move. Lumber shifts with humidity, foundations settle, and even brand-new construction can be a quarter inch out of true somewhere along the span. That might not matter for a painting or a shelf, but barn door tracks are rigid, mounted in a dead-straight horizontal line, so any dip or rise in the wall transfers straight into the door. The result? A door that leans, scrapes the floor on one side, or leaves a reveal at the top that’s wider on one end than the other.
Here’s the thing though: barn door hardware can absolutely handle minor wall irregularities. You just have to compensate for them during installation, not try to fix things after the door’s already hung and dragging.
Step 1: Diagnose the Problem First
Don’t eyeball it. Measure.
- Use a laser level, not a bubble level, across the entire width of where the track will go. Mark the wall every 12 inches.
- Record the deviation at each mark against one single reference line, typically the highest point on the wall.
- Check the floor too. An uneven floor makes everything worse, so take measurements from the floor up to your planned track height in several spots, not just one.
Most uneven header walls deviate somewhere between 1/8” and 3/4”. If you’re measuring more than that, you’re probably looking at a wall or header repair before the door project can even start.
Step 2: Install a Mounting Board (Don’t Skip This)
Skipping the mounting board is the single most common mistake DIYers make when the wall isn’t flat. Grab a 1x6 or 2x6 in pine or poplar, rip it straight, shim it level, and you’ve just created a flat, true surface for the track, regardless of whatever the wall is doing behind it.
How to level the mounting board:
- Find the highest point on the wall using your laser line.
- Attach the board there first, screwed directly into a stud.
- Slide cedar or composite shims behind the board at every stud location where the wall falls away.
- Re-check with the laser after every single shim. The board’s face needs to read level end to end, no exceptions.
- Once it’s level, drive screws through the shimmed sections into the studs, then trim the excess shim material off with a utility knife.
That’s it. That one step alone solves about 90% of uneven-wall headaches, because now the track follows your leveled board instead of whatever the wall is doing.
Step 3: Mount the Track With Precision
Once the mounting board is level, the rest of the install gets a lot easier:
- Mark the actual stud locations behind the mounting board, not just where the drywall seams are.
- Pre-drill pilot holes. Skip this and you risk splitting the board or stripping the screws.
- Follow the manufacturer’s spacing for lag bolts, usually every 16” to 24”.
- Check level one more time before final tightening. Shims can shift slightly under pressure, more often than people expect.
Step 4: Adjust the Door, Not Just the Track
Even a perfectly level track won’t save you from a floor that’s slightly off. That’s why most decent barn door hardware kits include:
- Adjustable rollers, which let you raise or lower the door up to 1/2” without pulling the track off the wall.
- Floor guides, an adjustable piece at the bottom that stops side-to-side swing, particularly handy if the floor itself has a slope to it.
Give the door 24 hours hanging before you fine-tune these. Solid wood doors settle a bit on new hardware, and adjusting too early means you’ll probably be doing it twice.
Common Mistakes to Avoid
- Mounting straight into drywall or uneven studs with no leveling board in between.
- Stacking a bunch of thin shims instead of using proper tapered cedar shims, which compress unevenly and cause problems down the road.
- Focusing only on the header and forgetting the floor. Both planes affect your final gap.
- Cranking down the lag bolts before you’ve confirmed level, which can yank the board right back out of alignment.
When to Call a Professional
If the wall deviation runs past 3/4” across the span, or you’re seeing other red flags like cracked drywall or a floor that slopes through the whole room, that’s your cue to bring in a contractor. Solid wood barn doors aren’t light. They run anywhere from 150 to 200+ lbs, and a track that’s fighting an uncompensated uneven wall will stress those fasteners over months and years, not just on day one.
Final Thoughts
Hanging a barn door on an uneven wall was never about forcing the hardware to match a flawed surface. It’s about building a new, level reference point with a properly shimmed mounting board, then working from there. Measure carefully, shim with patience, give the rollers a tweak after the door’s had time to settle, and you’ll end up with a door that glides like it was installed in a perfectly square room, even if the wall behind it tells a very different story.