Advanced Techniques for Matching Texture on a Repaired Popcorn Ceiling
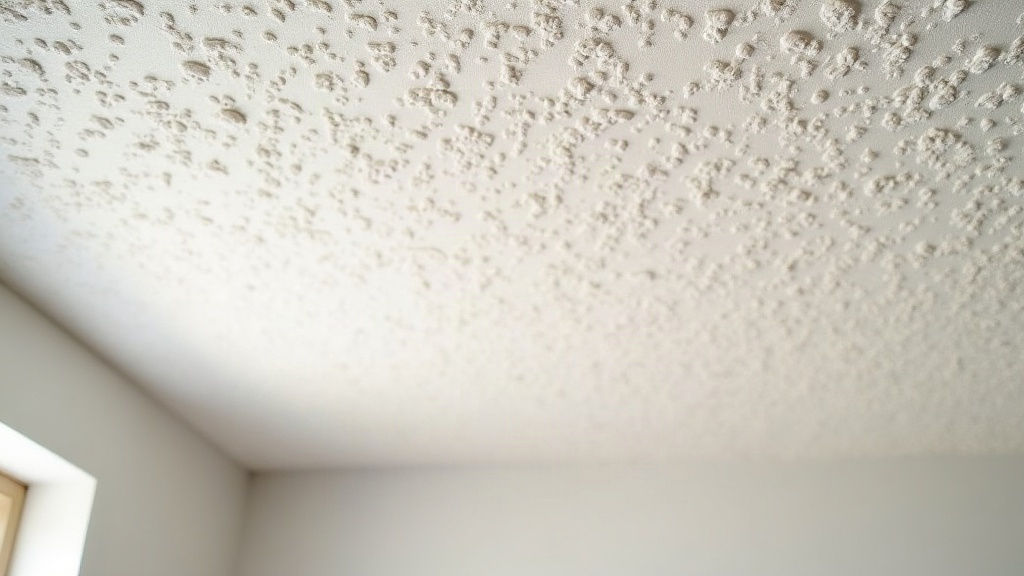
Matching Texture on a Repaired Popcorn Ceiling: Pro Techniques That Actually Work
Here’s the honest truth about popcorn ceiling repairs: the patch itself is rarely the hard part. Mixing texture compound and slapping it over a hole takes maybe ten minutes. What separates a invisible fix from an eyesore is everything that happens around that patch, the blending, the sheen matching, the patience to test before you commit. Get those wrong and you’ll be staring at a weird oval on your ceiling every time you walk into the room. This guide covers the field-tested methods pros actually use, from picking the right tool to the finishing tricks nobody tells you about.
Why Texture Matching Is So Difficult
Popcorn (acoustic) ceilings went up decades ago using compressor pressures, nozzle sizes, and material mixes that varied by manufacturer, by era, and honestly by whatever mood the applicator was in that day. So when you patch a section now, you’re basically trying to reverse-engineer a texture pattern that:
- Has aged, yellowed, or been painted over multiple times
- May contain asbestos in homes built before 1980 (test before you sand or scrape anything, no exceptions)
- Was sprayed with equipment you almost certainly don’t own
- Has an irregular density that’s nearly impossible to eyeball accurately
Once you understand these variables, you stop guessing and start choosing a repair strategy that actually fits your situation.
Step 1: Identify Your Existing Texture Type
Grab a flashlight, hold it at a low angle against the ceiling (raking light, essentially), and look closely before you mix anything. Popcorn textures generally fall into three buckets:
- Fine spray texture – small, tight bumps, often seen in older homes
- Heavy popcorn – larger, chunkier clumps typical of 1970s-80s construction
- Painted-over popcorn – texture that’s been softened and flattened a bit by multiple coats of paint
Which category you’re working with determines your water-to-mix ratio and how you set up your sprayer. Skip this step and you’re just guessing at settings.
Step 2: Choose the Right Application Method
Hopper Gun (Best for Large Repairs)
A pneumatic hopper gun hooked up to an air compressor gets you the closest thing to a factory match. A few settings that matter:
- Nozzle size: 1/4” for fine texture, 3/8”-1/2” for heavy popcorn
- Air pressure: Start around 30-40 PSI and test on cardboard first, always
- Distance: Hold the gun 18-24 inches from the ceiling so the material disperses evenly
Aerosol Texture Cans (Best for Small Patches)
For anything under about 2 square feet, aerosol popcorn cans (Homax, Zinsser, that kind of thing) do the job just fine. One trick pros swear by: shake the can for a full 60 seconds, no shortcuts, then do a few short test bursts on scrap drywall to dial in the spray pattern before you go near the actual ceiling.
Hand-Applied Texture (Best for Odd Shapes or Asbestos Concerns)
When spraying isn’t an option, dab pre-mixed texture compound on with a trowel, then work it with a stiff-bristle brush or a stomp texture roller. The goal is to lift and separate the material into random little peaks so it reads as organic, not stamped.
Step 3: Blend the Edges, Don’t Just Match the Center
Here’s where most DIYers blow it. They obsess over getting the density right in the middle of the patch and completely forget about the transition zone, which is really what your eye notices first. Pros handle this by:
- Thinning the texture mix a bit more as they move outward from the center of the patch
- Knocking down harsh edges with a damp sponge about 10-15 minutes after spraying
- Overlapping the spray 2-3 inches past the actual repair area so there’s never a hard line to spot
Step 4: Match Sheen and Color Before Final Paint
You can nail the texture perfectly and still have it look wrong if the paint sheen is even slightly off. So:
- Stick with the same finish as the rest of the ceiling, usually flat or matte
- Prime the patch first. Skip this and you risk flashing, that annoying shiny or dull spot where fresh drywall compound soaks up paint differently than the surrounding surface
- Roll paint across the whole ceiling section, not just the patch itself, using a thick nap roller (3/4”) to keep the texture looking continuous
Advanced Troubleshooting
- Patch looks too smooth: Don’t overload the first coat. Add more texture in a light second pass instead
- Color mismatch after drying: Popcorn texture almost always dries lighter than it looks when wet, so let it cure fully before you judge anything
- Visible seam line: Take a 12-inch knife and feather the drywall mud thinner right at the edges before you texture over it
Conclusion
At the end of the day, matching texture on a popcorn ceiling patch is about slowing down: really looking at what you’re working with, picking tools that fit the size of the job, and taking the time to blend edges instead of rushing straight to paint. Whether you go with a hopper gun, an aerosol can, or just a trowel and a stomp roller, test on scrap material first and feather your transitions more generously than feels necessary. Do that, and the patch stops being something you notice every time you glance up.