Building a Fold-Down Workbench for a One-Car Garage Corner
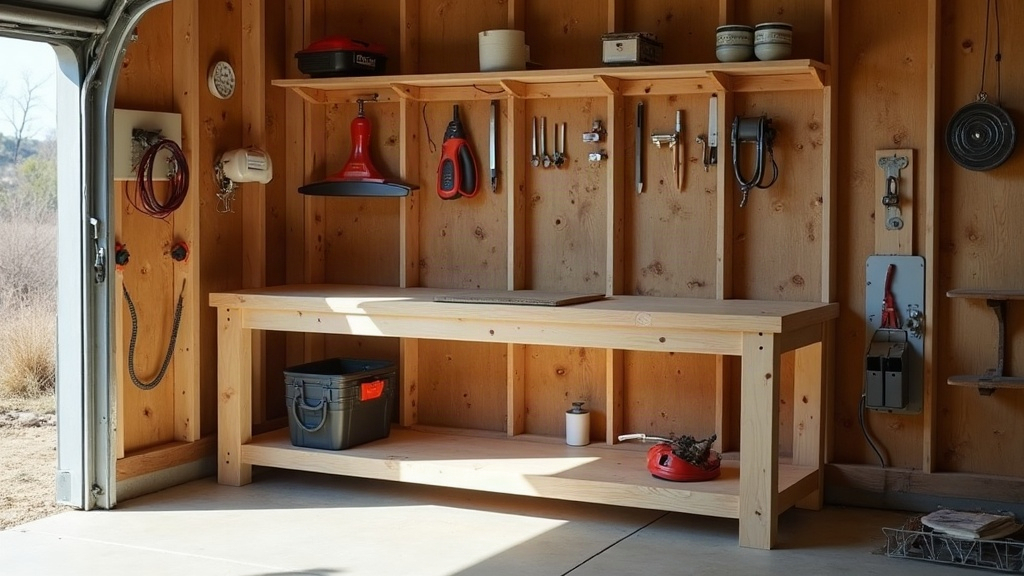
A fold-down workbench is hands-down the best upgrade you can make in a one-car garage, where literally every inch of floor space matters. This project turns a dead corner into a full-size, sturdy work surface that folds flat against the wall whenever you need to park, haul in groceries, or roll the mower out. You get real workshop function without giving up your parking spot.
Why a Fold-Down Workbench Makes Sense
In a one-car garage, a standalone freestanding bench can swallow 15 to 20 square feet you don’t have to spare. A fold-down bench (sometimes called a murphy bench or wall-mounted hinged workbench) gets around that problem. Here’s what it brings to the table:
- Folds flat to just 2-4 inches of depth when you’re not using it
- Holds 300+ pounds when deployed, plenty for power tools, engine parts, or woodworking clamps
- Runs under $120 in materials for a basic 4x2-foot build
- Can be built in a weekend with tools you probably already own
Corners work especially well for this kind of build. Two walls give you more bracing options, and the folded bench stays completely out of your walking path.
Materials and Tools You’ll Need
Materials:
- 3/4-inch plywood or MDF (one 4x8 sheet, cut down to 24”x48” for the top)
- 2x4 lumber for the frame and legs, roughly 20 linear feet
- Two heavy-duty folding workbench brackets (a piano hinge can work too, but brackets rated for 300+ lbs are the safer bet)
- 1x4 ledger board for mounting to the wall
- Wood screws (2.5” and 1.25”), lag bolts, wall anchors or studs
- Wood glue, sandpaper, wood finish or polyurethane
Tools:
- Circular saw or table saw
- Drill/driver, stud finder, level, tape measure, clamps
- Jigsaw, in case you need to notch around corner trim
Step-by-Step Build
1. Plan Your Corner Layout
Start by measuring the corner where your two walls meet. Most people land on 48 inches wide by 24 inches deep, a size that handles typical tool work without swinging out into the path of a car door. Mark your height too: 34 to 36 inches is what most adults find comfortable to work at.
2. Install the Ledger Board
Run a stud finder across the wall and screw a 1x4 ledger board horizontally at the height you picked. This board carries the hinge side of the tabletop, and it needs to go into studs, not just drywall, because it’s taking the full static load every time the bench is in use.
3. Build the Folding Leg Frame
Build a simple A-frame, or a single swing-leg assembly, out of 2x4s that tucks up flat against the underside of the tabletop when folded. Hinge the frame’s top edge to the tabletop with a piano hinge so the legs swing down and lock in place. A basic hook-and-eye, or a dedicated leg-lock bracket, keeps everything rigid once it’s open.
4. Attach the Tabletop
Screw the plywood top onto the ledger board using your folding workbench brackets. These let the whole top pivot up and lie flat against the wall. Line up the hinge so it runs level, and check that the top swings clear of any trim or outlets nearby, nothing worse than a bench that catches on a light switch cover.
5. Add Support and Finish
- Sand every edge smooth and round off sharp corners, safety first
- Put down two coats of polyurethane or wood sealant. Garages see spills, oil, moisture, all the stuff that eats raw wood
- Add a leg-lock mechanism, a barrel bolt or folding bracket stop does the job, so the bench can’t fold up on you mid-project
6. Test the Fold Cycle
Before you put a single tool on it, cycle the bench up and down several times. Check for smooth hinge action and make sure the legs lock securely, every time, not just most of the time.
Pro Tips for Corner Installations
- Put the second wall to work with pegboard. Hang a pegboard on the adjoining wall above the bench so your hand tools stay within arm’s reach without eating floor space.
- Run a power strip to the ledger board area before you close up the wall side. Cords stay tucked away and invisible once the bench folds flat.
- MDF gives you a flatter surface for precision work, but it chips easily, so add an edge banding strip around the perimeter.
- Leave 3 inches of clearance from the garage door track. Nothing’s more annoying than a folded bench that snags the door mechanism.
Common Mistakes to Avoid
- Anchoring only into drywall instead of studs. This alone is the number one reason these benches fail under load.
- Skipping the leg-lock mechanism. Without it, you’re one bump away from a sudden collapse.
- Building the top deeper than 24 inches in a true one-car garage. Anything more and you risk blocking the car door.
Conclusion
A fold-down workbench turns a wasted corner into an actually useful workspace, and you never give up your parking spot to get it. A little lumber, a weekend of work, and careful attention to stud anchoring and a solid leg-lock, that’s really all it takes. What you end up with is a bench rated for real projects, one that vanishes flat against the wall the moment you need your garage back.