How to Paint Oak Kitchen Cabinets Without Grain Showing
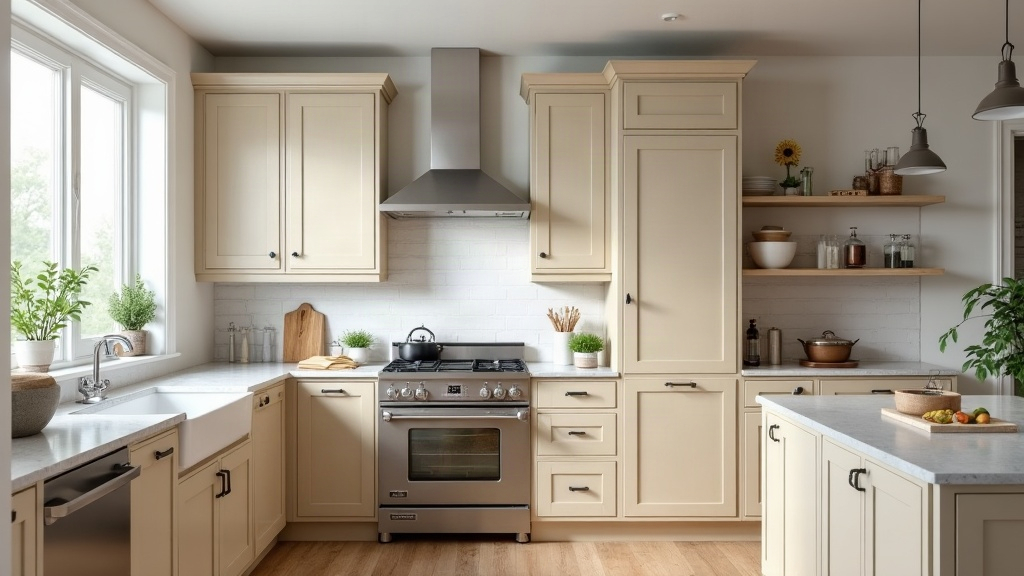
Oak cabinets are built to last, yet their pronounced grain can make an otherwise well-kept kitchen feel stuck in another decade. A quick coat of paint will change the color, not the texture. Those deep oak pores still catch light, create tiny shadows, and remain visible through the finish.
For a smooth, modern, factory-style result, the prep work matters just as much as the paint. You will need to clean thoroughly, fill the grain properly, use a stain-blocking primer, and choose a durable cabinet enamel. Done carefully, even heavily grained 1990s oak doors can look almost brand new.
Essential Tools and Materials
A smooth cabinet finish takes more than a brush and a gallon of paint. Set up your supplies before removing the first hinge:
- Degreaser: TSP (Trisodium Phosphate) or a strong citrus-based kitchen degreaser.
- Sandpaper: 120-grit and 220-grit sanding blocks, plus 320-grit for between paint coats. An orbital sander can speed up larger jobs.
- Wood Grain Filler: Aqua Coat Clear Wood Grain Filler or DryDex spackling.
- Application Tools: An old credit card, plastic putty knife, or rubber squeegee.
- Primer: Shellac-based primer, such as BIN, or a high-adhesion oil-based primer.
- Paint: A quality self-leveling cabinet enamel, such as Benjamin Moore Advance or Sherwin-Williams Emerald Urethane Trim Enamel.
- Brushes/Rollers: High-density foam rollers and a fine angled synthetic brush. An HVLP paint sprayer is optional but useful.
Step-by-Step Guide to a Flawless Finish
Step 1: Remove, Label, and Degrease
Take off every cabinet door, drawer front, handle, hinge, and pull. As you work, place a small piece of masking tape inside each door or on the hinge area and label it. “Upper left, 1” may seem excessive at first, but it saves a lot of frustration when 18 nearly identical doors need to go back up.
Cabinets near the stove and sink often hold years of grease you cannot easily see. That residue can cause filler, primer, or paint to peel later. Scrub all surfaces with TSP or a heavy-duty citrus degreaser, rinse with clean water, and allow everything to dry fully before sanding.
Step 2: The Initial Scuff Sand
There is no need to strip oak cabinets down to raw wood. Your job is simply to dull the existing clear coat and create enough texture for the next layers to grip.
Use 120-grit sandpaper and firmly scuff every painted surface, including rails, recessed panels, edges, and door frames. The finish should look evenly dull rather than glossy. This gives the filler and primer something to hold onto.
Vacuum the sanding dust, then wipe each piece with a tack cloth. Dust left in the grain has a way of appearing in the final coat, usually when you least want it to.
Step 3: Apply the Wood Grain Filler (The Secret Step)
This is where oak cabinets go from visibly textured to genuinely smooth. Primer alone cannot fill oak’s deep, open pores, even if you apply two or three coats.
Place a small amount of grain filler, Aqua Coat is a popular choice, on the cabinet door. Pull it firmly across the wood grain using a rubber squeegee, plastic putty knife, or an old credit card. Work in short sections. The goal is to press filler into the grooves while scraping most of the excess from the flat areas.
Let the filler dry according to the product directions. Most water-based fillers need about one to two hours, though humid conditions may extend that time.
Step 4: Sand the Filler Smooth
Once dry, lightly sand the filled surface with 220-grit sandpaper. You are leveling the filler, not sanding it back out of the pores.
Run your fingertips across the door after sanding. Can you still feel the oak pattern? If so, apply a second thin coat of filler, let it dry, and sand again. Many oak doors need two applications, especially around raised panels and heavily grained rails.
Remove every bit of dust with a tack cloth before priming. A clean surface makes a noticeable difference.
Step 5: Prime to Prevent Bleed-Through
Oak contains tannins, natural compounds that can migrate through paint and leave yellow or brown discoloration. This is especially common with white, cream, and pale gray cabinets.
Apply one coat of shellac-based primer, such as BIN Advanced, or a reliable oil-based bonding primer. Use your angled brush in grooves, corners, and recessed areas. Roll the flat surfaces with a high-density foam roller for a more even finish.
After the primer dries, lightly sand it with 220-grit paper. This removes small dust nibs, roller texture, and any brush marks before the paint goes on.
Step 6: Apply the Self-Leveling Paint
This is the step where the cabinets start to look transformed. A self-leveling cabinet enamel is worth the extra cost because it stays workable longer than standard wall paint. Brush and roller marks soften as the paint settles, leaving a smoother, tougher surface.
Brush detailed areas first, then use a foam roller across the broad, flat sections. Avoid repeatedly rolling the same wet paint. Apply it, smooth it once or twice, then leave it alone. Overworking the paint can create texture instead of eliminating it.
Let the first coat dry for the full time listed on the can. For many cabinet enamels, that means 16 to 24 hours. Lightly sand with a 320-grit sanding block, wipe away the dust, and apply the second coat.
Expert Tips for the Best Results
-
Consider a Sprayer: A high-density foam roller can produce excellent results, but an HVLP paint sprayer gives cabinet doors a particularly smooth finish. If you have 20 or more doors, renting one for a weekend may be worthwhile. Practice first on cardboard or a scrap board to dial in the spray pattern.
-
Patience Is Key: Cabinet enamel may feel dry after a day or two, but full curing can take up to 30 days. You can usually reinstall doors after 48 hours, yet treat them gently for the first few weeks. Avoid slamming doors, scrubbing the finish, or stacking painted pieces together.
Conclusion
Painting oak kitchen cabinets without visible grain takes time, but it is one of the most dramatic budget-friendly kitchen upgrades you can make. Thorough cleaning, a carefully applied grain filler, a tannin-blocking primer, and quality self-leveling paint can hide that dated oak texture almost completely.
Instead of replacing solid cabinet boxes that may have decades of life left, you can create a clean, custom-looking kitchen for a fraction of the cost of new cabinetry.