Refinishing a Water-Stained Butcher Block Countertop
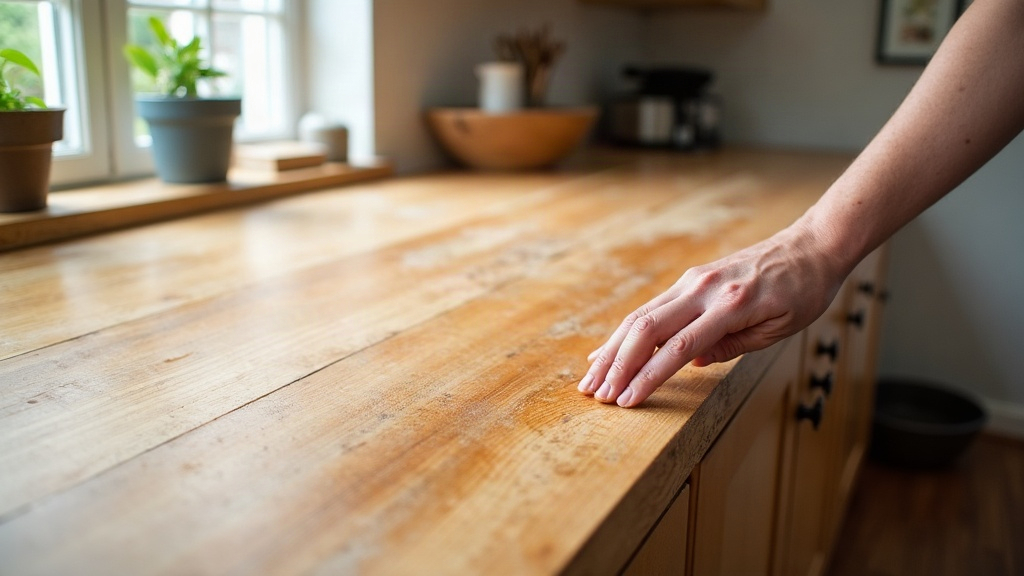
How to Fix Water Stains on a Butcher Block Countertop
Water stains on a butcher block countertop are one of the most common complaints I hear from homeowners who love the warmth of wood but can’t quite keep moisture under control near sinks and stovetops. Here’s the good news: refinishing a stained butcher block is a solid weekend project, and you don’t need to tear out the whole surface to fix it. Grab the right tools, work through the steps in order, and let the drying stages run their course. Do that and you’ll end up with a smooth, food-safe countertop that looks like new again.
Why Butcher Block Countertops Stain
Butcher block is built from strips of solid wood glued side by side, and wood, no matter how it’s cut, stays porous. Leave water sitting on the surface too long (around a faucet, under a dish rack, next to the coffee maker) and it works its way into the fibers before any finish gets a chance to push it back out. The result:
- Gray or black rings where moisture has oxidized the wood
- Raised grain from repeated wetting and drying cycles
- Cracking or dullness in the protective oil or finish layer
Ignore these marks and they just get worse. Give it enough time and you’re looking at mold or warping, not just a cosmetic issue. Catching it early is what keeps you from having to replace the whole countertop later.
What You’ll Need
Before you start, round up these supplies:
- Random orbital sander or sanding block
- Sandpaper in 80, 120, and 220 grit
- Wood bleach (oxalic acid) or a mild bleach solution
- Clean rags and a shop vacuum
- Food-safe mineral oil or butcher block conditioner
- Beeswax finish (optional, for extra water resistance)
- Painter’s tape to protect the sink and backsplash
Step 1: Assess the Damage
Run your hand across the countertop and feel for raised grain, soft spots, or cracks. Light gray stains tend to sit right at the surface, so sanding handles them without much drama. Dark black stains are a different story. Those usually mean water has soaked in deep, and you’ll likely need a few rounds of sanding plus a bleach treatment before they lift.
Step 2: Clean and Dry the Surface
Wipe the countertop down with a damp cloth to clear away grease, crumbs, and any old wax buildup. Then let it dry, fully, for at least 24 hours before you touch it with sandpaper. Sand damp wood and you’ll just clog the paper and end up with an uneven, patchy result.
Step 3: Sand Away the Stain
Start with 80-grit and work in the direction of the grain (cross-grain sanding leaves scratches you’ll regret later). Once the dark discoloration starts fading, switch to 120-grit, then finish up with 220 for a smooth, even surface. Vacuum between every grit change. Skip this and leftover debris from the coarser paper will scratch up your finer sanding work.
When Sanding Isn’t Enough
Still seeing the stain after sanding down about 1/8 inch? Time for wood bleach. Oxalic acid works especially well on water stains. Follow the instructions on the bottle, give it the recommended dwell time, rinse it off, and let the wood dry completely. Depending on the humidity in your kitchen, that drying stage can run anywhere from 24 to 48 hours, so don’t rush it.
Step 4: Re-Sand for a Uniform Finish
Once everything’s bleached and bone dry, go over the surface again with 220-grit to knock down any grain that raised up from the moisture. Wipe off all the dust with a tack cloth, or a rag that’s just barely damp.
Step 5: Apply Food-Safe Oil
Pour on a generous amount of food-safe mineral oil and work it into the grain with a clean cloth. Let it sit and soak for 20 to 30 minutes, then wipe off whatever’s left on top. Do this 2 to 3 more times over the next few days. Wood doesn’t drink oil at a consistent rate, especially if it’s been dried out from the sanding and bleaching, so multiple coats matter more than one heavy application.
Step 6: Seal with Beeswax (Optional)
Want extra insurance against the next spill? Once the oil has fully cured, add a beeswax-based conditioner on top. It builds a water-repellent layer that’s particularly handy right around the sink, where most of these stains start in the first place.
Maintaining Your Refinished Countertop
- Wipe up spills right away, especially near the sink
- Oil the surface about once a month, or sooner if water stops beading on contact
- Use trivets and coasters for anything hot or wet
- Don’t leave wet dish towels or sponges sitting directly on the wood
Conclusion
Fixing a water-stained butcher block countertop really does come down to sanding, bleaching where needed, and keeping up with the oil. Stay on top of stains while they’re still minor, stick to a regular oiling routine, and your countertop will keep looking good for years. That’s money saved and the natural character of real wood kept intact, which is exactly why so many people choose butcher block for their kitchens in the first place.