Converting a Wire Shelf Closet Into Wood Shelving on a Budget
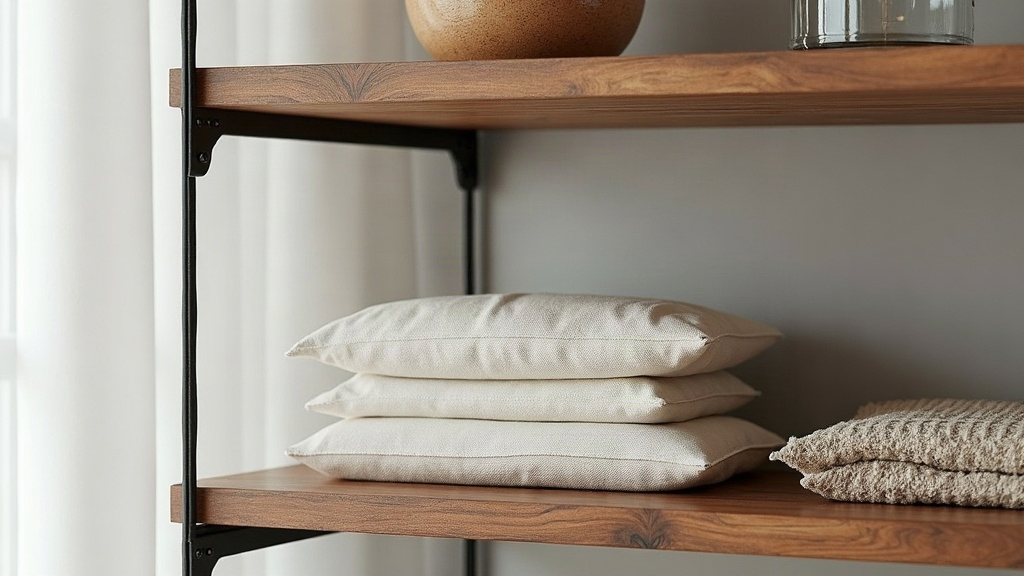
If your closet still has that builder-grade wire shelving from the 1990s, you already know the drill: it sags under a stack of sweaters, leaves those little ripple dents in your clothes, and honestly just looks tired. The good news? Swapping wire for wood is one of the cheapest, most satisfying weekend projects out there. Most homeowners spend somewhere between $80 and $250 and wrap it up in a single Saturday.
Why Swap Wire for Wood?
Wire shelving got popular because it was cheap and quick to install. That’s basically its only selling point. The downsides are real:
- Sagging over time, especially on spans longer than 36 inches
- Marks and snags on delicate fabrics and shoes (anyone who’s pulled a sweater off a wire rack knows the feeling)
- A dated look that can actually hurt resale value in bedrooms and hallway closets
- Awkward gaps where socks, small accessories, or shoe laces slip right through
Solid wood or plywood shelving, on the other hand, makes a closet feel like a custom built-in almost overnight, minus the custom price tag.
Budgeting the Project
A single reach-in closet, roughly 5 to 6 feet wide, typically needs:
- 2 to 3 shelves (12-inch deep boards)
- 1 hanging rod
- Shelf brackets or a cleat system
- Paint, primer, or stain
- Wood filler and sandpaper
Cost breakdown:
- Melamine or paint-grade plywood: $25-40 per shelf
- Solid pine boards (1x12): $15-25 per 6-foot length
- Shelf brackets (heavy-duty, 2 per shelf): $8-15 per pair
- Closet rod and end caps: $10-20
- Paint/primer: $20-30 for a small can
- Sandpaper, screws, wood filler: $15-20
Total for a standard closet: $100-220. Compare that to hiring a closet company, where quotes often start north of $600.
Tools You’ll Need
- Stud finder
- Level (a laser level saves a lot of back-and-forth)
- Circular saw, or just have the lumber yard cut boards to size
- Drill/driver with the right bits
- Sandpaper (120 and 220 grit)
- Paintbrush or foam roller
- Tape measure and pencil
Step-by-Step Conversion
1. Remove the Wire Shelving
Unscrew the brackets and standards from the wall studs. Patch the holes with spackle, let it dry, then sand smooth. While the wall’s exposed, take a minute to check for water damage or uneven spots. Better to catch that now than after the new shelves go up.
2. Measure and Plan Layout
Think about what you’ll actually store before deciding on heights. Most people put one shelf above the hanging rod at 78-84 inches, then add optional lower shelves for shoes or bins. Mark your stud locations with a pencil so you’re not guessing later.
3. Cut or Order Your Wood
Melamine-coated particleboard is the fast, no-fuss option since it needs zero finishing. Solid pine or plywood costs a little more but gives you the freedom to stain or paint it any color you want. Most hardware stores will cut boards to length for free or a couple of bucks, so there’s no need to own a table saw.
4. Install Cleats or Brackets
Want that clean, floating look? Install a wood cleat (a 1x2 strip) along the back wall studs, rest the shelf on top, then secure it with side brackets. If you’re storing heavier stuff, go with adjustable shelf brackets screwed directly into studs every 16 inches instead.
5. Mount the Closet Rod
Use rod-and-shelf brackets or a simple flange-and-rod kit rated for at least 30 lbs per foot of hanging clothes. Don’t skimp here; a cheap rod under a winter coat load will bow within a year.
6. Sand, Prime, and Paint
Working with raw wood? Sand the edges smooth, prime, then apply two coats of semi-gloss paint for durability and easy wipe-downs. Melamine shelving skips this step entirely, which is a big reason people love it for quick projects.
7. Reinstall and Load Test
Give everything at least 24 hours to dry before loading up. Add items back gradually rather than all at once. Heavier stuff, think stacks of folded jeans or shoe boxes, should sit on shelves anchored straight into studs, not just cleats.
Pro Tips for a Polished Finish
- Use edge banding on plywood shelves for a cleaner, more finished edge.
- Add a center support bracket on any shelf longer than 36 inches. Trust me, sagging shows up faster than you’d think.
- Paint shelves before installing. Doing it overhead is miserable and the results usually show it.
- Match your trim color to the existing closet doors or baseboards so the whole thing looks intentional, not bolted on.
Common Mistakes to Avoid
- Skipping stud detection and relying on drywall anchors alone for heavy shelves
- Cutting boards too tight, leaving no wiggle room for expansion in humid climates
- Forgetting to prime raw wood before painting, which causes blotchy, uneven color
- Overloading spans with no center support, which leads to sagging within a few months
Conclusion
Converting a wire shelf closet into wood shelving is one of those rare upgrades where the cost is low but the payoff, both in function and looks, is huge. With a handful of basic tools, a free Saturday, and under $250, you can ditch the sagging wire racks and end up with a sturdy, custom-looking closet that actually protects your clothes. Try it on one closet first. Once you see the difference, don’t be surprised if you end up ripping wire shelving out of every closet in the house.