How to Fix a Squeaky Hardwood Floor from Above
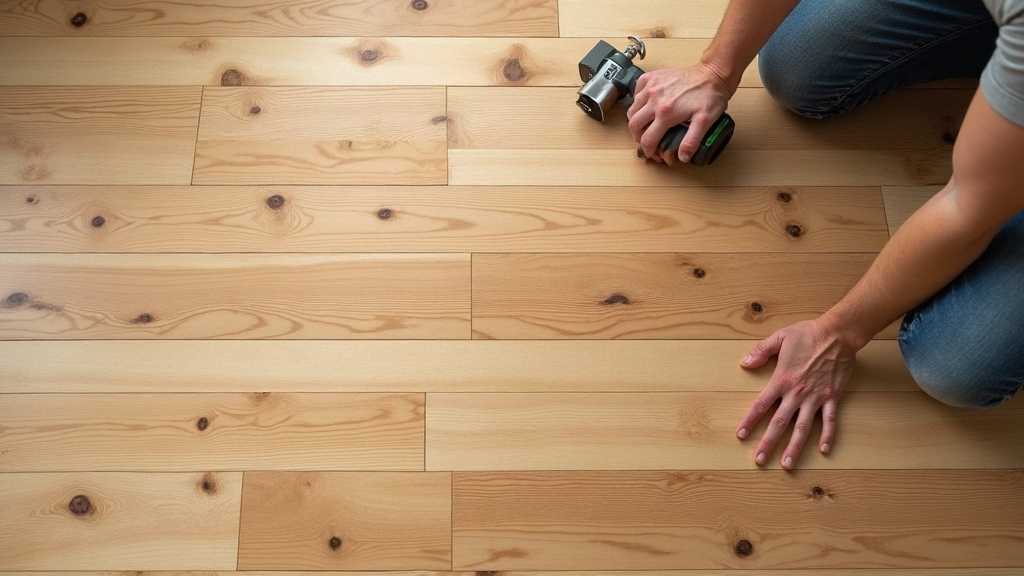
A beautiful hardwood floor loses some of its charm when it announces every step with a sharp squeak. The noise usually comes from friction: one board rubbing against another, a subfloor panel moving against a joist, or old nails shifting each time weight lands on the floor. No basement access? No crawlspace beneath the room? You can still tackle the repair from above with a few basic tools.
Here’s how to track down the noise and quiet those floorboards without opening up the ceiling below.
Step 1: Pinpoint the Squeak and Find the Joists
Don’t reach for a drill until you know exactly which board is moving and where the framing sits underneath.
- Locate the noise: Walk slowly through the problem area, pressing your weight onto one board at a time. Listen for the exact spot that creaks, clicks, or flexes. A small square of painter’s tape works well for marking each noisy location, especially if there is more than one.
- Find the floor joist: Many squeaks happen when the subfloor pulls slightly away from a joist. The goal is to fasten that loose section back to the solid framing below. Scan the floor with a reliable stud finder, or look for rows of existing nail heads. Those nails often follow the joist line, typically spaced 16 inches apart in many homes.
Step 2: Choose Your Repair Method
The right repair depends on what is causing the sound and how permanent you want the fix to be. From above, there are three practical options.
Method 1: The Quick Fix (Talcum Powder or Graphite)
When two hardwood boards are simply rubbing at their edges, a dry lubricant can sometimes stop the squeak in minutes.
- How it works: Sprinkle baby powder, talcum powder, or powdered graphite generously along the squeaky seam.
- Application: Use a soft brush, an old makeup brush, or a dry cloth to push the powder down into the gap between boards. Work it in while stepping gently on the area.
- The Result: The powder creates a thin buffer between the pieces of wood, reducing the friction that causes the noise.
- Note: Think of this as a low-effort first attempt, not always a permanent repair. Vacuuming, mopping, and heavy traffic can remove the powder, so it may need another application later.
Method 2: The Permanent Fix (Break-Away Screws)
For a board or subfloor that has loosened from a joist, a breakaway screw kit is usually the most dependable repair from above. Products such as the “Squeak No More” system are designed to pull the hardwood, subfloor, and joist together while leaving no visible screw head.
- Drill a pilot hole: After confirming the joist location, use the bit included with the kit to drill straight through the hardwood and into the joist. Keep the drill as vertical as possible.
- Drive the screw: Place the scored screw through the kit’s alignment fixture and drive it into the pilot hole. The fixture helps stop the screw at the correct depth, which matters on a finished floor.
- Snap the head: Each screw is scored just below the wood surface. Use the kit’s snapping tool to break off the exposed top section.
- Conceal the hole: Fill the small hole with stain-matched wood filler. After it dries, lightly smooth it if needed. On a medium or dark-stained floor, the repair is often difficult to spot unless you know where to look.
Method 3: The Traditional Method (Finishing Nails)
No specialty kit on hand? Finishing nails can still secure a loose board, though they require a careful hand and may be slightly more visible.
- Select the right nails: Choose 8d or 10d finishing nails based on the thickness of the hardwood and subfloor. A nail that is too short will not grip well, while one that is too long can miss the framing or damage something below.
- Drive at an angle: Avoid driving the nails straight down. Instead, install two nails at opposing 45-degree angles, creating a shallow “V” shape. This cross-nailing pattern grips the board more securely and helps prevent it from working loose again.
- Countersink and fill: Use a nail set or nail punch to sink each head just below the wood surface. Fill the tiny marks with a matching wood putty, then let it cure before walking heavily on the spot.
Don’t Forget About Humidity
Not every squeak needs a fastener. Hardwood expands when moisture rises and contracts when the air gets dry. If your floor only starts talking in January, then goes quiet during humid summer months, seasonal shrinkage is probably creating small gaps between boards.
A whole-house humidifier can help maintain indoor humidity between 35% and 55%. That range is generally comfortable for both people and hardwood flooring. Check the humidity with an inexpensive digital hygrometer before making holes in the floor. Sometimes the fix is as simple as adding moisture to dry winter air.
Conclusion
A squeaky hardwood floor does not automatically mean you need to remove flooring, cut into a ceiling, or call a contractor. Powder can reduce board-to-board friction, breakaway screws can firmly reconnect loose material to a joist, and finishing nails offer a practical traditional alternative.
Start by identifying the exact squeak and locating the joist. Then choose the least invasive repair that fits the problem. With careful work, a noisy path across the room can become quiet again over a single weekend.