Beginner's Guide to Patching Drywall Dents Before Painting a Rental
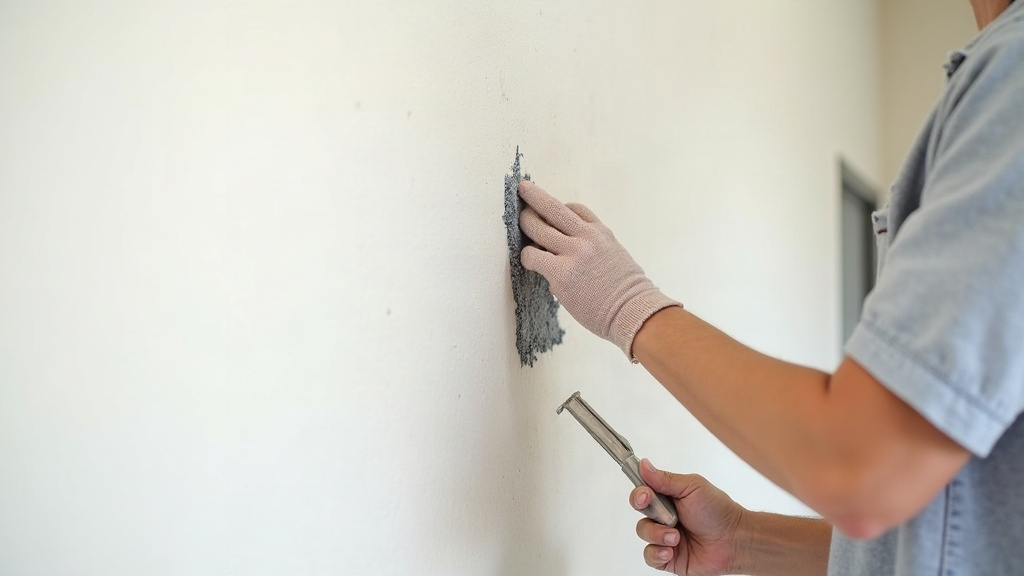
If you’re getting ready to paint a rental, patching drywall dents first isn’t optional. It’s the difference between a wall that looks professionally finished and one that broadcasts every flaw the second the paint dries. This guide walks you through exactly how to fix dents, dings, and small holes in drywall using basic tools, before you ever pick up a roller.
Why Patching Comes Before Painting
Paint doesn’t hide texture. It reveals it. Flat wall paint, especially in eggshell or satin finishes, catches light at angles that expose every dent, nail pop, or scuff mark. Renters skip this step more often than you’d think, and end up with walls that look “painted over damage” rather than freshly finished. Landlords notice too. Unpatched dents show up during move-out inspections, and that’s exactly the kind of thing that chips away at your security deposit.
Patch first, and here’s what you get:
- Smoother, more even paint coverage
- No shadowing or texture bleeding through
- A better shot at getting your full deposit back
- A wall that genuinely looks new, not just recolored
Tools and Materials You’ll Need
You don’t need a contractor’s toolbox for this. For most rental-sized dents, grab:
- Lightweight spackle (for dents smaller than a golf ball)
- Joint compound (for larger dents, dings, or shallow holes)
- A 4-6 inch putty knife
- 120-150 grit sandpaper or a sanding sponge
- A damp cloth
- Painter’s tape (optional, for clean edges)
- A small bucket or lid to hold compound
Spackle vs. joint compound: Spackle dries fast and handles small dents and nail holes with no fuss. Joint compound works better across wider, shallower dents, since it feathers out more smoothly over a larger area without leaving a raised bump behind.
Step-by-Step: How to Patch Drywall Dents
1. Clean and Prep the Area
Wipe the dent with a damp cloth to clear away dust, grease, or loose debris, then let it dry completely. Skip this step and you’re basically guaranteeing your patch won’t bond right. It’s the number one reason patches fail.
2. Assess the Dent Size
- Small dents (under 1 inch): Use spackle directly.
- Medium dents (1-3 inches): Use joint compound in thin layers.
- Dents with cracked paper or exposed drywall: Sand the rough edges lightly first so the patch has something smooth to grip onto.
3. Apply the First Coat
Load a small amount of compound onto your putty knife and apply it across the dent with light pressure, dragging in one direction. Go ahead and overfill slightly (you’ll sand it flush later). Just don’t glob it on too thick in one pass. Thin layers dry more evenly and crack a lot less.
4. Let It Dry Fully
Depending on thickness and humidity, spackle and joint compound need anywhere from 2 to 24 hours to cure. Don’t rush this part. Sanding wet compound is a mess, and it’ll wreck the finish before you even get started.
5. Sand Smooth
Using 120-150 grit sandpaper, sand in gentle circular motions until the patch sits flush with the surrounding wall. Run your hand over it afterward. If you can’t feel a ridge or a dip, you’re done.
6. Apply a Second Coat (If Needed)
Larger dents tend to shrink a bit as they dry, leaving a shallow dip behind. A thin second coat, sanded once it dries, usually clears that right up.
7. Wipe Down Dust Before Priming
Sanding kicks up fine dust, and if you leave it behind, it’ll show through the paint. Wipe the area with a barely damp cloth and let it dry fully before you prime.
Do You Need to Prime Patched Areas?
Yes, and don’t skip it. Unpainted spackle and joint compound soak up paint differently than the rest of the wall, which creates a dull, blotchy spot painters call “photographing.” A quick coat of drywall primer, or even leftover wall paint used as a sealer, evens out absorption so your final coat looks uniform instead of patchy.
Common Mistakes Renters Make
- Skipping the sanding step and painting straight over lumpy patches
- Piling on too much compound in one layer, which leads to cracking
- Skipping primer, then wondering why there’s a dull spot after painting
- Forgetting to check for popped nails or screws hiding behind bigger dents
Quick FAQ
How long should I wait before painting after patching? At least 24 hours for joint compound. A good test: check the color. It should be uniformly white, not still gray in spots.
Can I use toothpaste or soap as a quick fix? No. Those are internet tricks that won’t hold up once you paint over them, and they can actually make the damage worse.
What if the dent goes through the drywall paper? Sand the torn edges flat, apply a thin layer of compound to bridge the tear, then treat it like any other patch from there.
Final Thoughts
Patching drywall dents before painting a rental costs almost nothing and makes a massive visual difference, not to mention it protects your deposit. With just spackle or joint compound, a putty knife, and some sandpaper, you can turn dinged-up walls into a smooth, paint-ready surface in under an hour of actual work. Patch properly, prime, then paint. Your walls, and your landlord, will notice the difference.