How to Recaulk a Bathtub and Shower to Prevent Mold Like a Pro
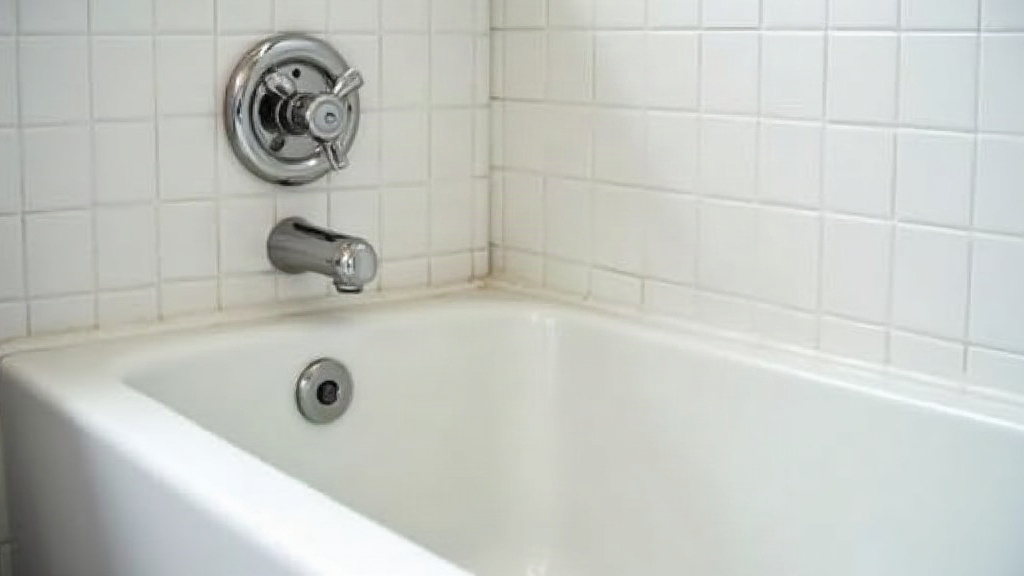
Bathroom mold is more than an ugly black line around the tub. It can affect indoor air quality, and failing caulk may allow water to reach the wallboard or subfloor behind your shower. Recaulking a bathtub or shower is one of those straightforward DIY jobs that can prevent a much larger repair later, similar to replacing a leaking fill valve. Replacing cracked, peeling, or mildew-stained sealant restores the waterproof barrier around the fixture and keeps moisture where it belongs.
Why Mold Grows in Your Bathroom Caulk
Bathrooms give mold exactly what it needs: warmth, moisture, and organic residue from soap, shampoo, and body oils. Caulk does not last forever. As it ages, it can shrink, split, or pull away from the tub and tile.
Even a hairline opening lets water work its way behind the seal. That damp, hidden space collects soap scum and stays wet long after the shower is finished, creating an ideal place for mold spores to settle in. The reliable fix is to remove all failed caulk, clean the joint thoroughly, and replace it with quality 100% silicone caulk rated for tubs and tile.
Tools and Materials You’ll Need
Set out your supplies before you begin. A properly prepared workspace makes the job faster, and it helps produce a cleaner seal that lasts.
- Caulk removal tool (or a utility knife/razor scraper)
- 100% Silicone mold-resistant caulk (specifically labeled for tub and tile)
- Caulking gun (if not using a squeeze tube)
- Denatured alcohol or rubbing alcohol
- Non-scratch scouring pad
- Painter’s tape
- Clean microfiber cloths or paper towels
- Caulk smoothing tool (optional but highly recommended)
Step-by-Step Guide: How to Recaulk a Bathtub and Shower to Prevent Mold
Step 1: Remove the Old Caulk
Do not caulk over existing caulk. The fresh bead will not bond well to the old material, and water can still slip underneath it.
Use a caulk removal tool or a sharp utility knife to cut along both edges of the old bead. Once it loosens, pull away the rubbery strips in sections. Stubborn caulk may come off in small pieces, especially around corners. In that case, apply a commercial caulk softener, wait the amount of time listed on the label, then scrape again.
Take your time here. Any leftover strip, even a thin one, can keep the new silicone from sealing properly.
Step 2: Deep Clean and Prep the Surface
After removing every trace of old sealant, scrub the exposed joint well. A non-scratch pad with a mild bleach solution or vinegar can help remove visible mildew and kill spores in the gap. Then wipe the full area with denatured alcohol or rubbing alcohol to lift soap film, oils, and residue.
Note: This step is critical. Silicone needs a completely clean, bone-dry surface to bond correctly. Let the area air dry for several hours. If moisture remains in the joint, use a hair dryer on a low setting to dry it before moving on.
Step 3: Tape the Edges
Painter’s tape makes a noticeable difference, particularly if this is your first time caulking. Place one strip above and one below the joint, leaving a gap roughly 1/8 to 1/4 inch wide.
The tape keeps silicone off the surrounding tile and tub surface. It also gives the finished bead straight, even edges instead of a wavy line that needs extra cleanup.
Step 4: Apply the New Caulk
Cut the caulk tube tip at a 45-degree angle. Begin with a small opening, around the width of the joint, since enlarging the tip is easy but making it smaller is not. Load the tube into the caulking gun if needed.
Hold the gun at about a 45-degree angle to the seam. Squeeze the trigger with steady pressure and move slowly along the joint in one smooth pass. Aim for an even bead that fills the gap without piling excessively onto the tile or tub. A consistent pace matters more than speed.
Step 5: Smooth the Joint (Tooling)
Smooth the bead immediately, before a skin begins forming on the silicone. Run a caulk smoothing tool, or a lightly wetted finger, over the line with gentle pressure. A little water or glass cleaner on your finger helps prevent sticking.
This step presses the silicone deeper into the seam and shapes it into a slight concave curve, so water runs away rather than sitting on the caulk. Once the bead is smooth, peel off the painter’s tape while the caulk is still wet. Waiting until it dries can tear the fresh silicone away from the wall.
Let the caulk cure for at least 24 to 48 hours before using the shower. Check the product label, as cure times can vary by brand and humidity level.
Tips for Long-Term Mold Prevention
A fresh, watertight caulk line is a strong start. Keeping it dry and clean will help it stay mold-free much longer.
- Squeegee after showering: Spend 30 seconds wiping down shower walls and the tub edge after each use. Less standing water means fewer opportunities for mold.
- Improve ventilation: Run the bathroom exhaust fan while showering and for at least 30 minutes afterward. If the mirror is still fogged up, the room is still too humid.
- Clean regularly: Use a daily shower spray or mild cleaner to limit soap scum, which gives mold a food source.
Conclusion
Learning how to recaulk a bathtub and shower to prevent mold is a practical homeowner skill. It costs far less than repairing water-damaged drywall, loose tile, or a softened subfloor. Remove the old caulk completely, clean and dry the joint carefully, then use a premium 100% silicone product designed for bathrooms. A few focused hours on a weekend can keep your bathroom clean, sealed, and easier to maintain for years.